Google Play Store
How To Publish Your PWA (Powered by TigrenPWA) On Google Play Store#
By submitting your PWA to Google Play, you make it available in the world's largest app store. Google Play also provides app ratings and reviews, allowing users to learn more about your PWA before installing it. Finally, when you list your app on Google Play, you gain access to the power of Google Play Billing, which provides users with a familiar payment platform while accepting payments from multiple countries.
Now, let's look at our step-by-step guide for preparing and submitting your PWA to Google Play.
I. Generate a PWA with Bubblewrap#
- Step 1: Install Bubblewrap on Ubuntu
With the help of the Bubblewrap, you can wrap your Progressive Web App for distribution through app stores like Play on ChromeOS and Android without having any prior experience of Android app development.
Run this command on Ubuntu: npm install -g @bubblewrap/cli to install Bubblewrap:
- Step 2: Initialize your project
You need to enter your PWA's web app manifest as input, and Bubblewrap will generate an Android project from which to build your PWA Play package.
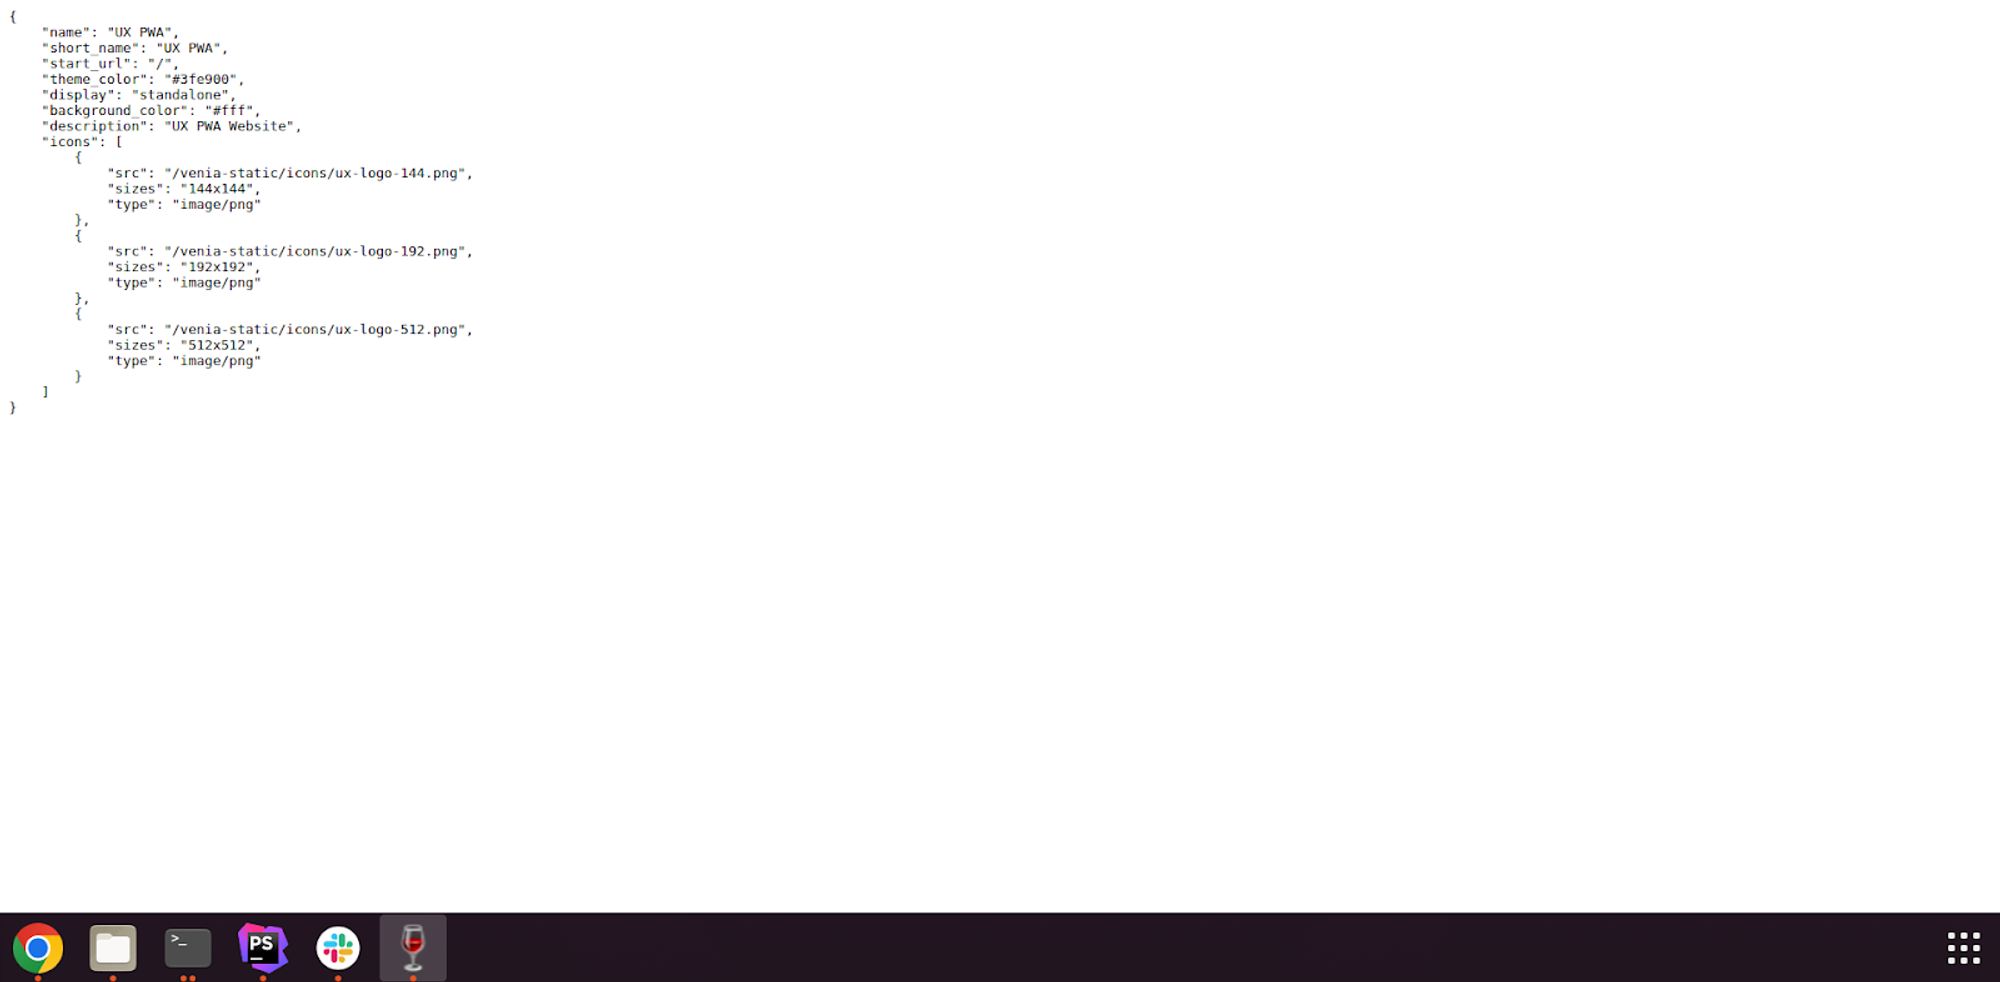
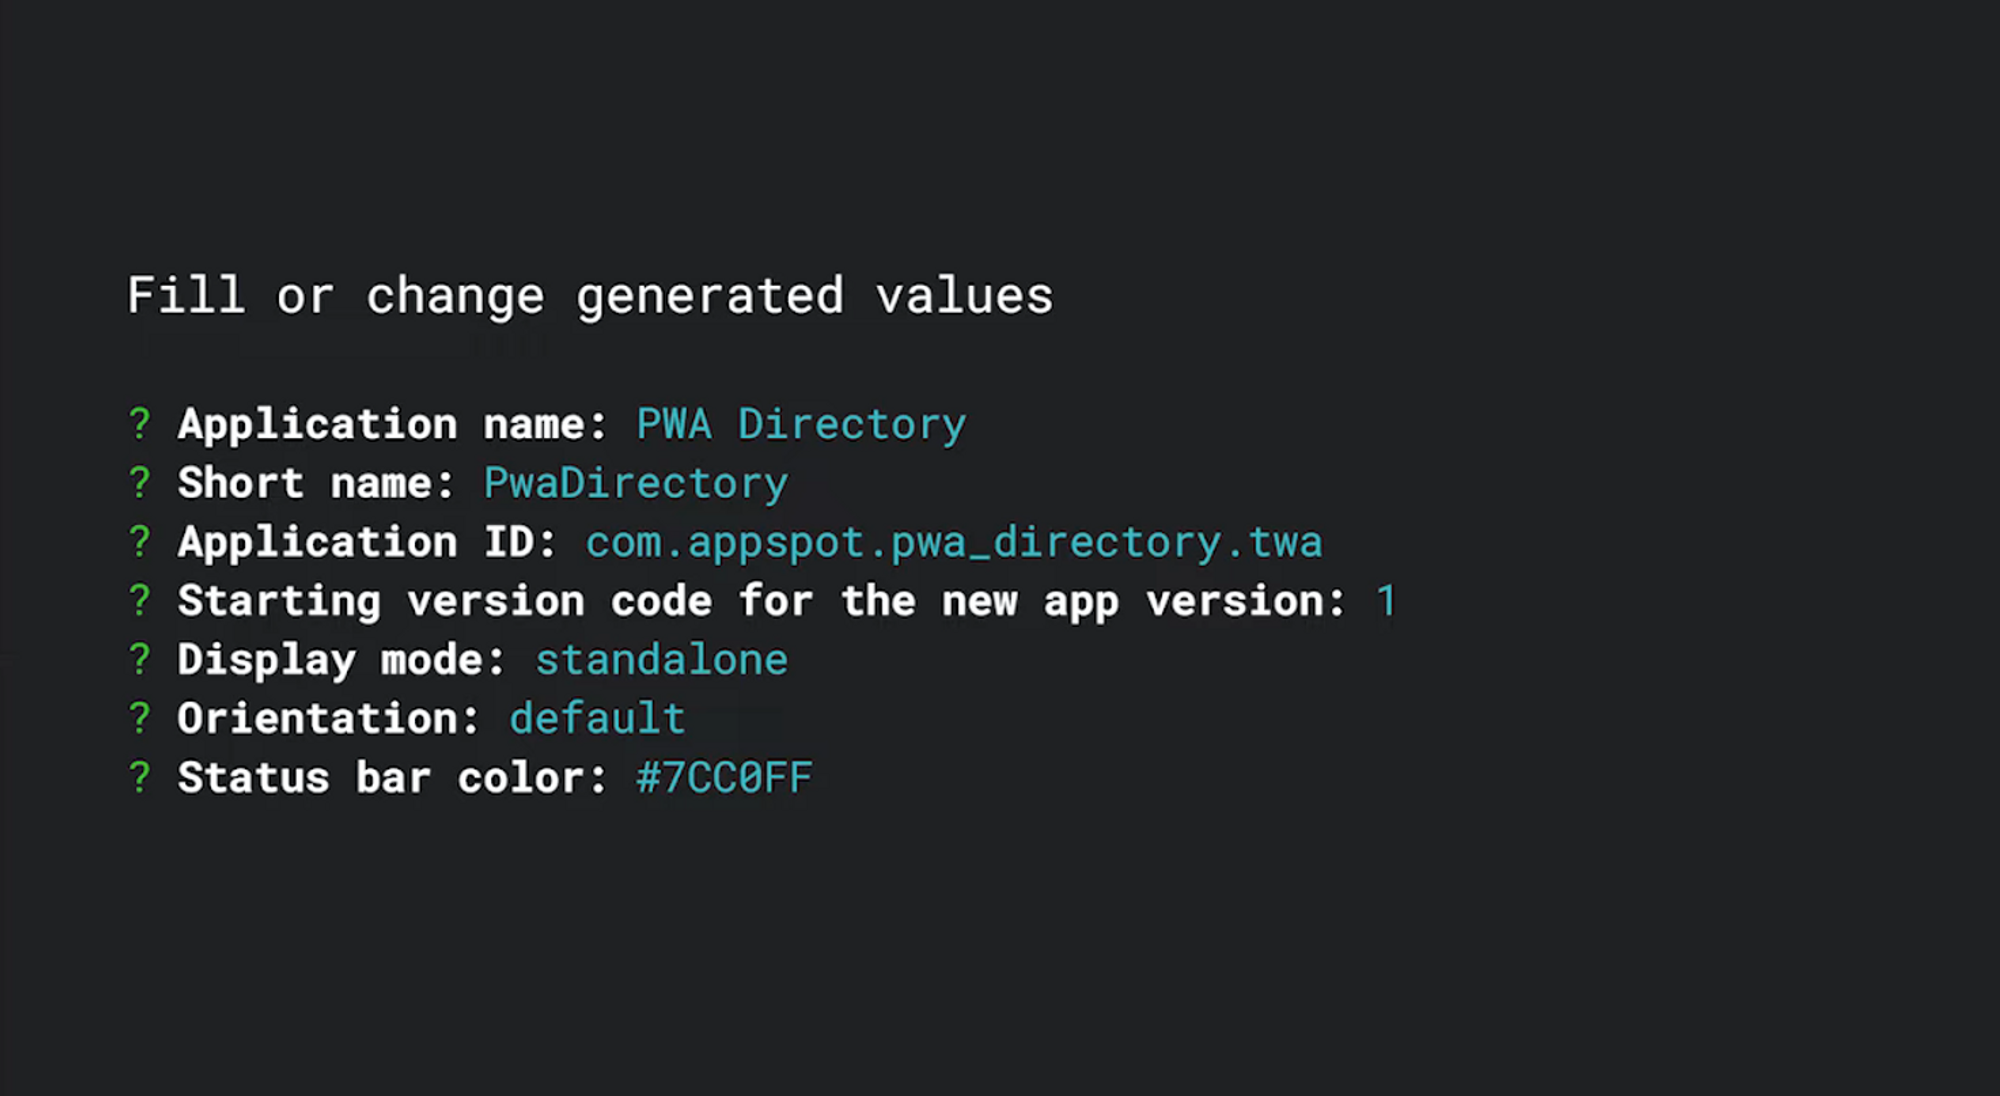
You will need to enter some information about your PWA. However, since it is already defined in the manifest.json file, it’s up to you to update it or not, and then pressing enter to move on to the next step.
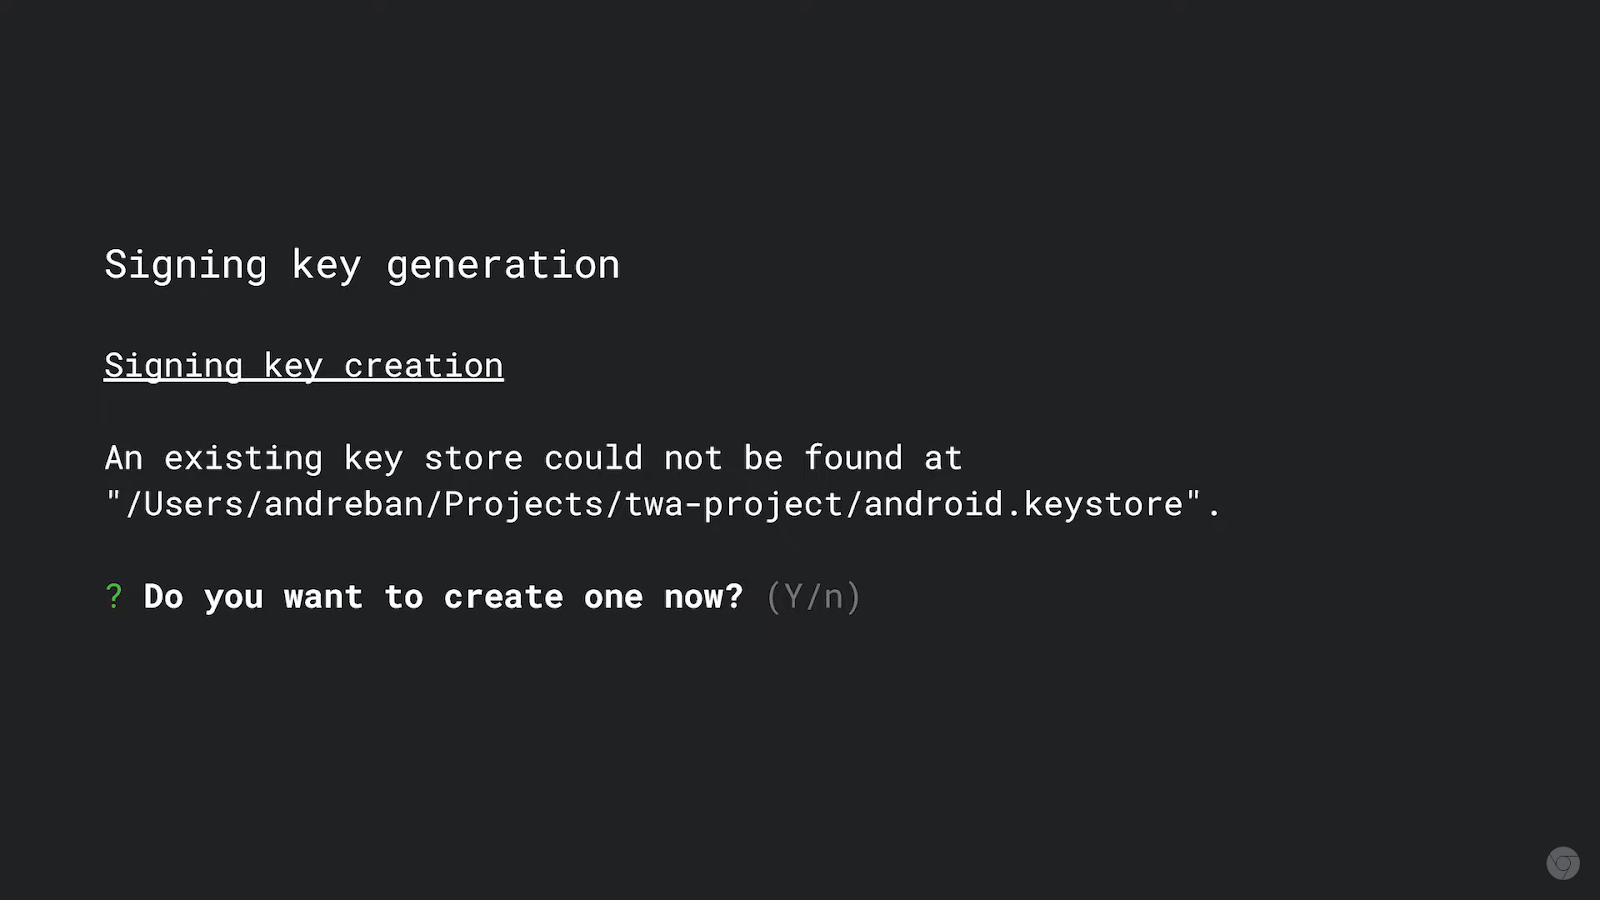
You must also create a signing key and key store in order to secure and upgrade the app later.
- Step 3: Build the project
At this step, Bubblewrap will now create the packages (APK or AAB) that will be distributed via Google Play. You must fill the key store that you created in step 2.
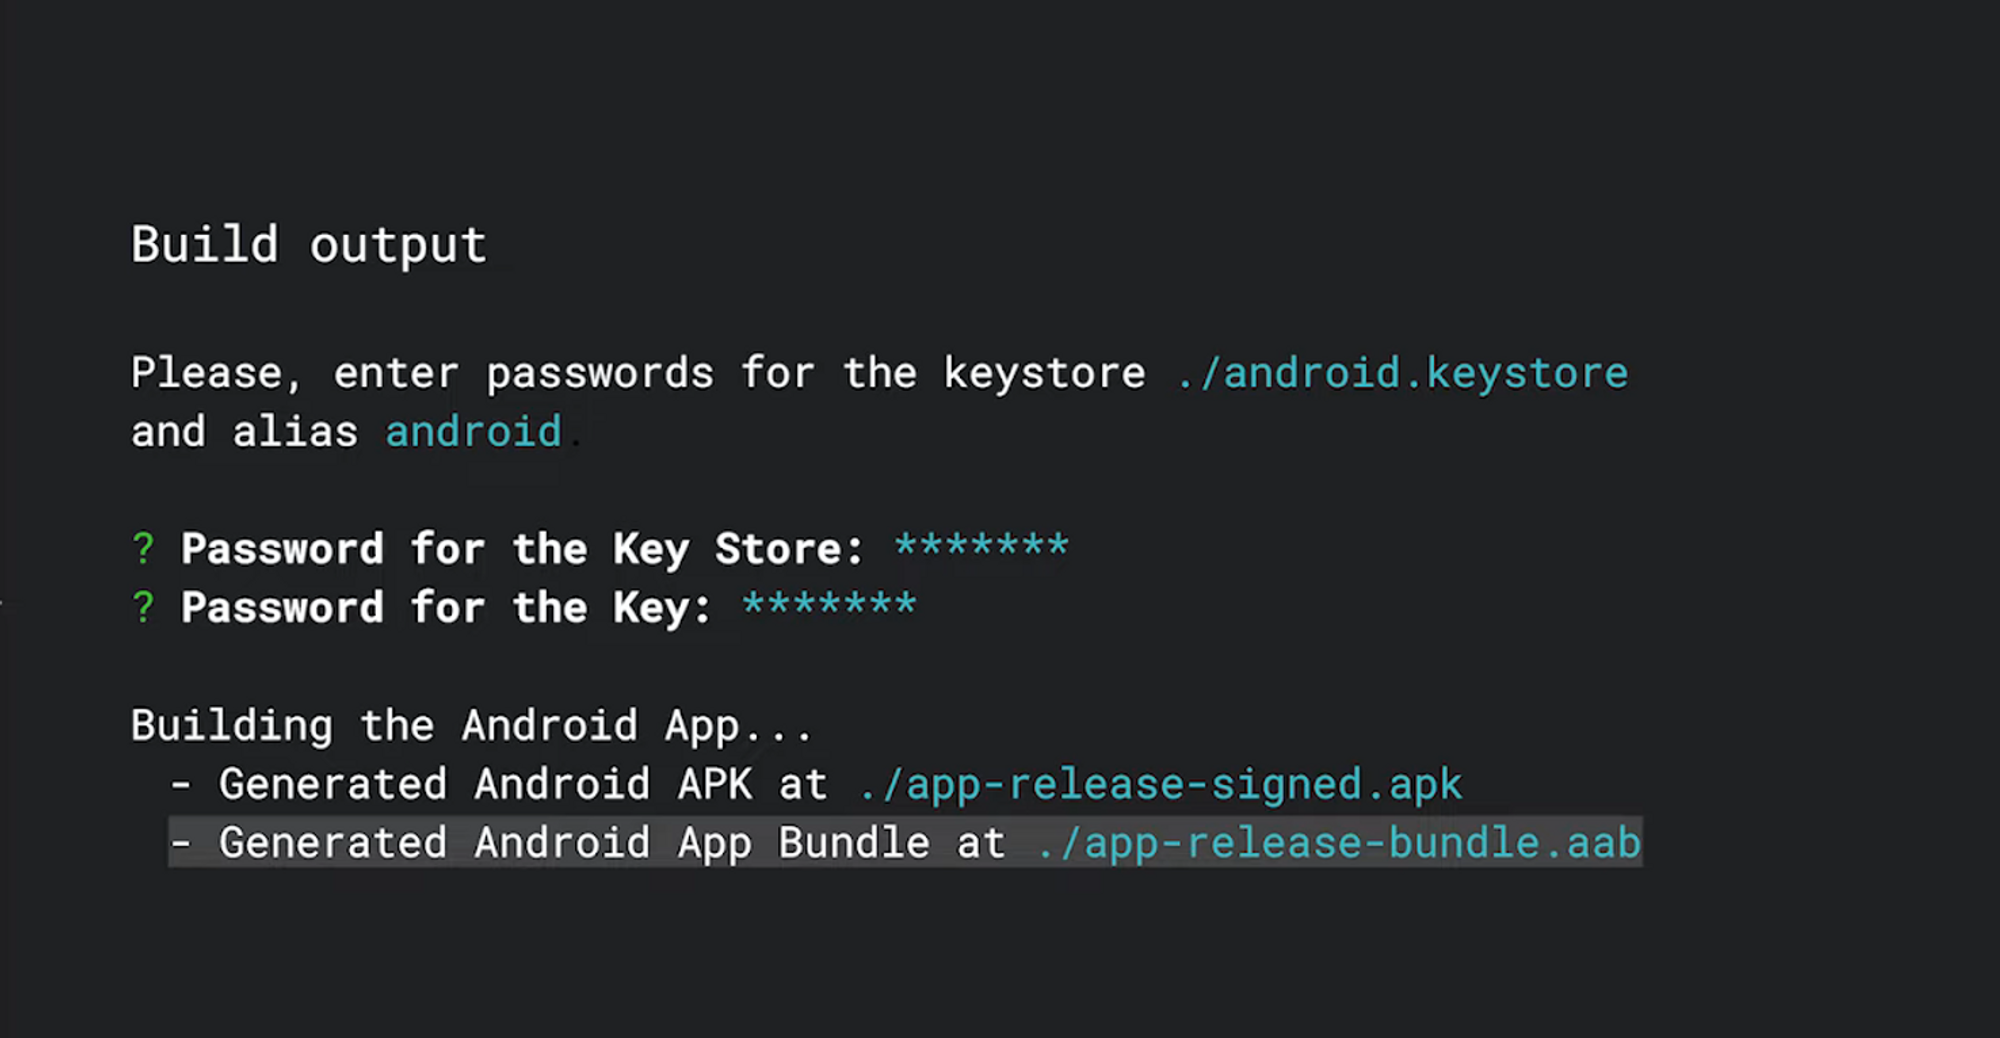
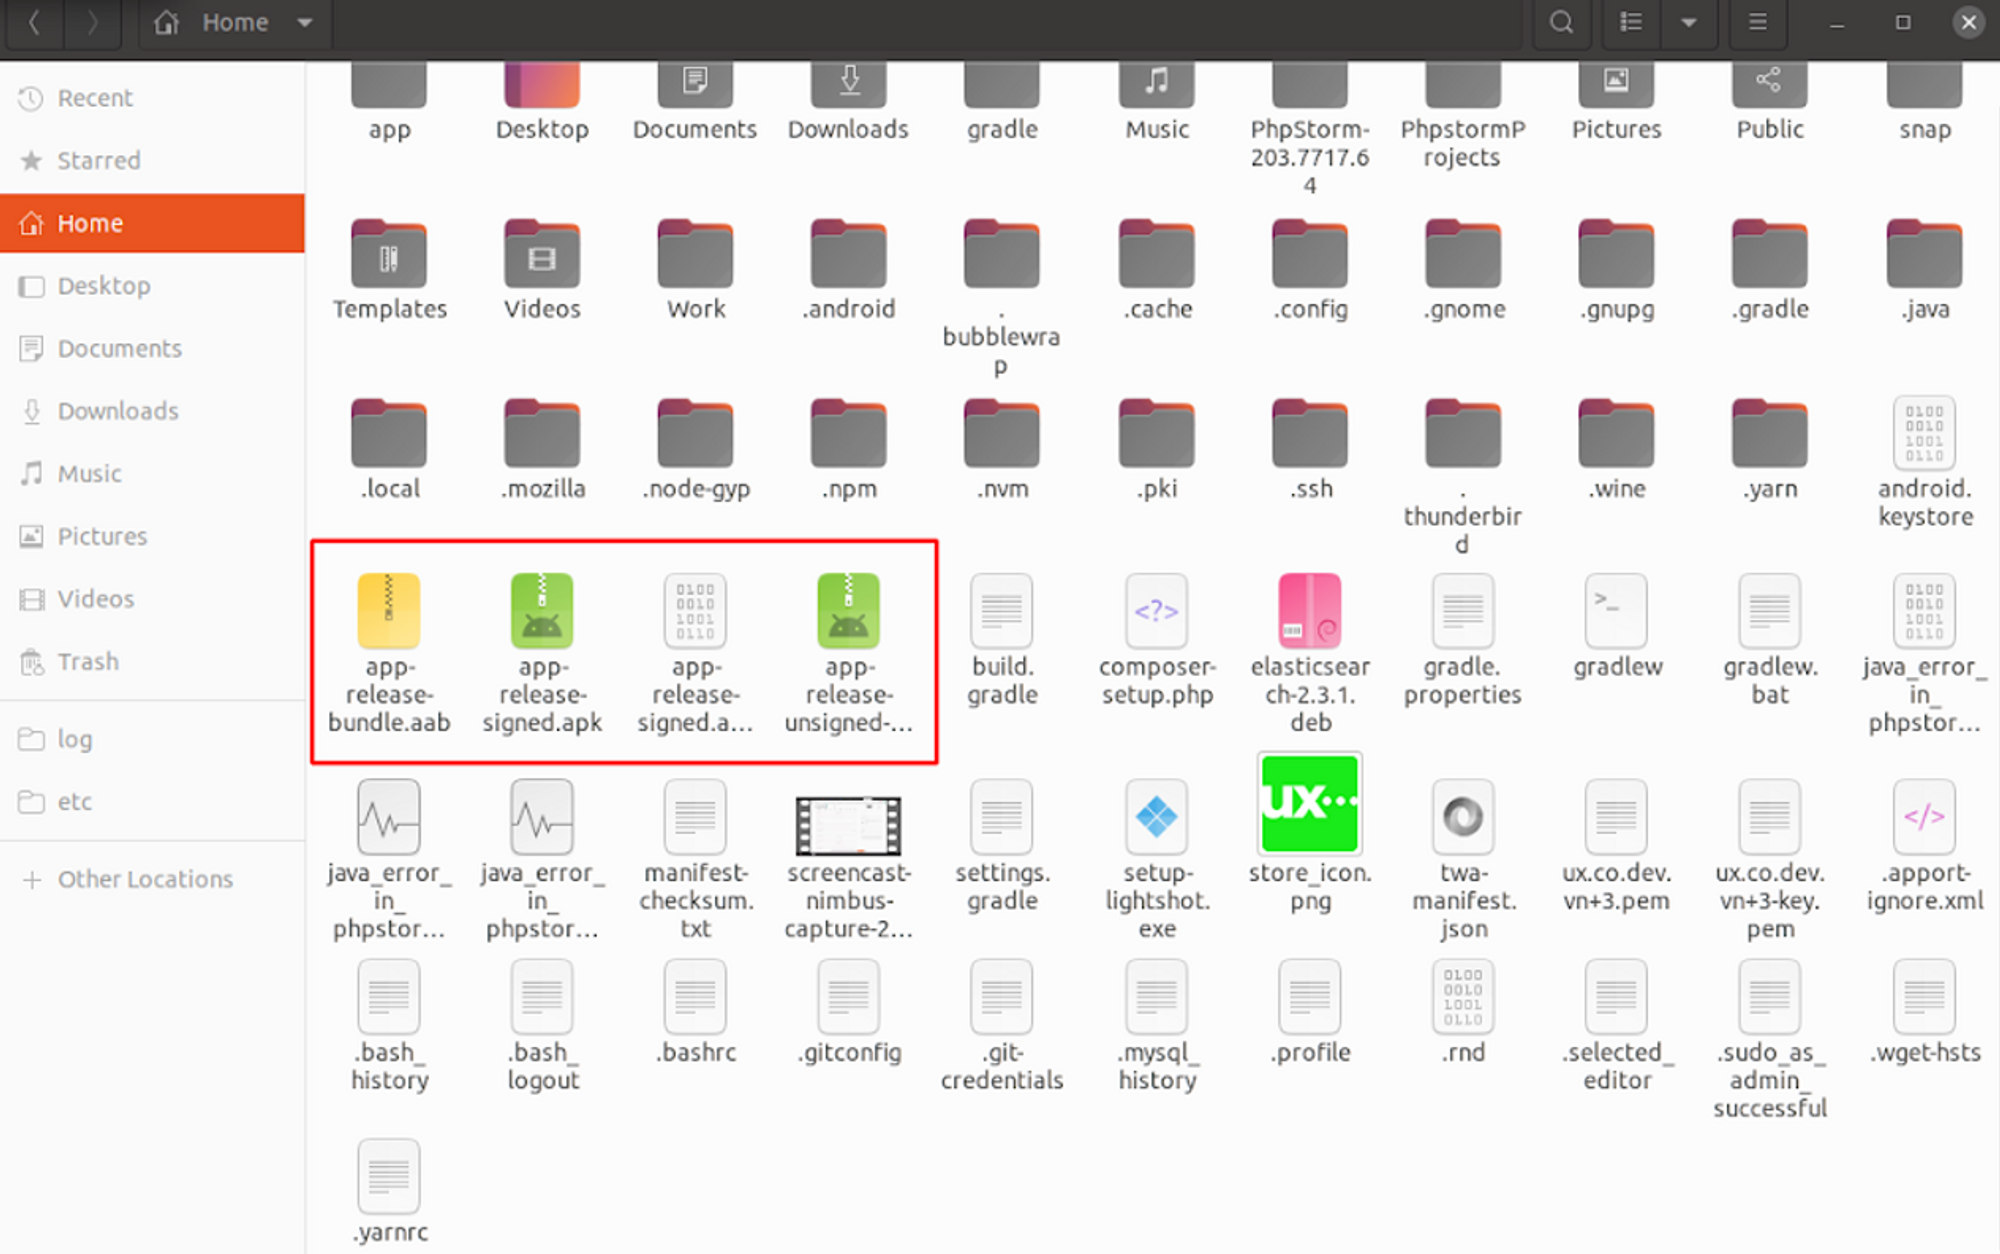
Before submitting the.aab file to Google Play Console, you can install the app-release-signed.apk file on your Android device to test.
II. Set Up Digital Asset Links#
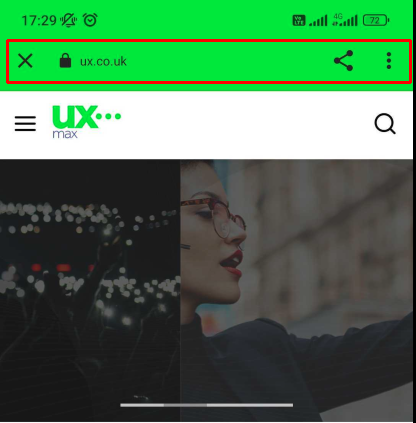
There are several phases involved in setting up Digital Asset Links. You must acquire data about your app from Google Play and distribute files to precise locations within your web application. This file must be made and included to the PWA source code; otherwise, your app's address bar will look as follows:
- Step 1: Get assetlinks.json file data
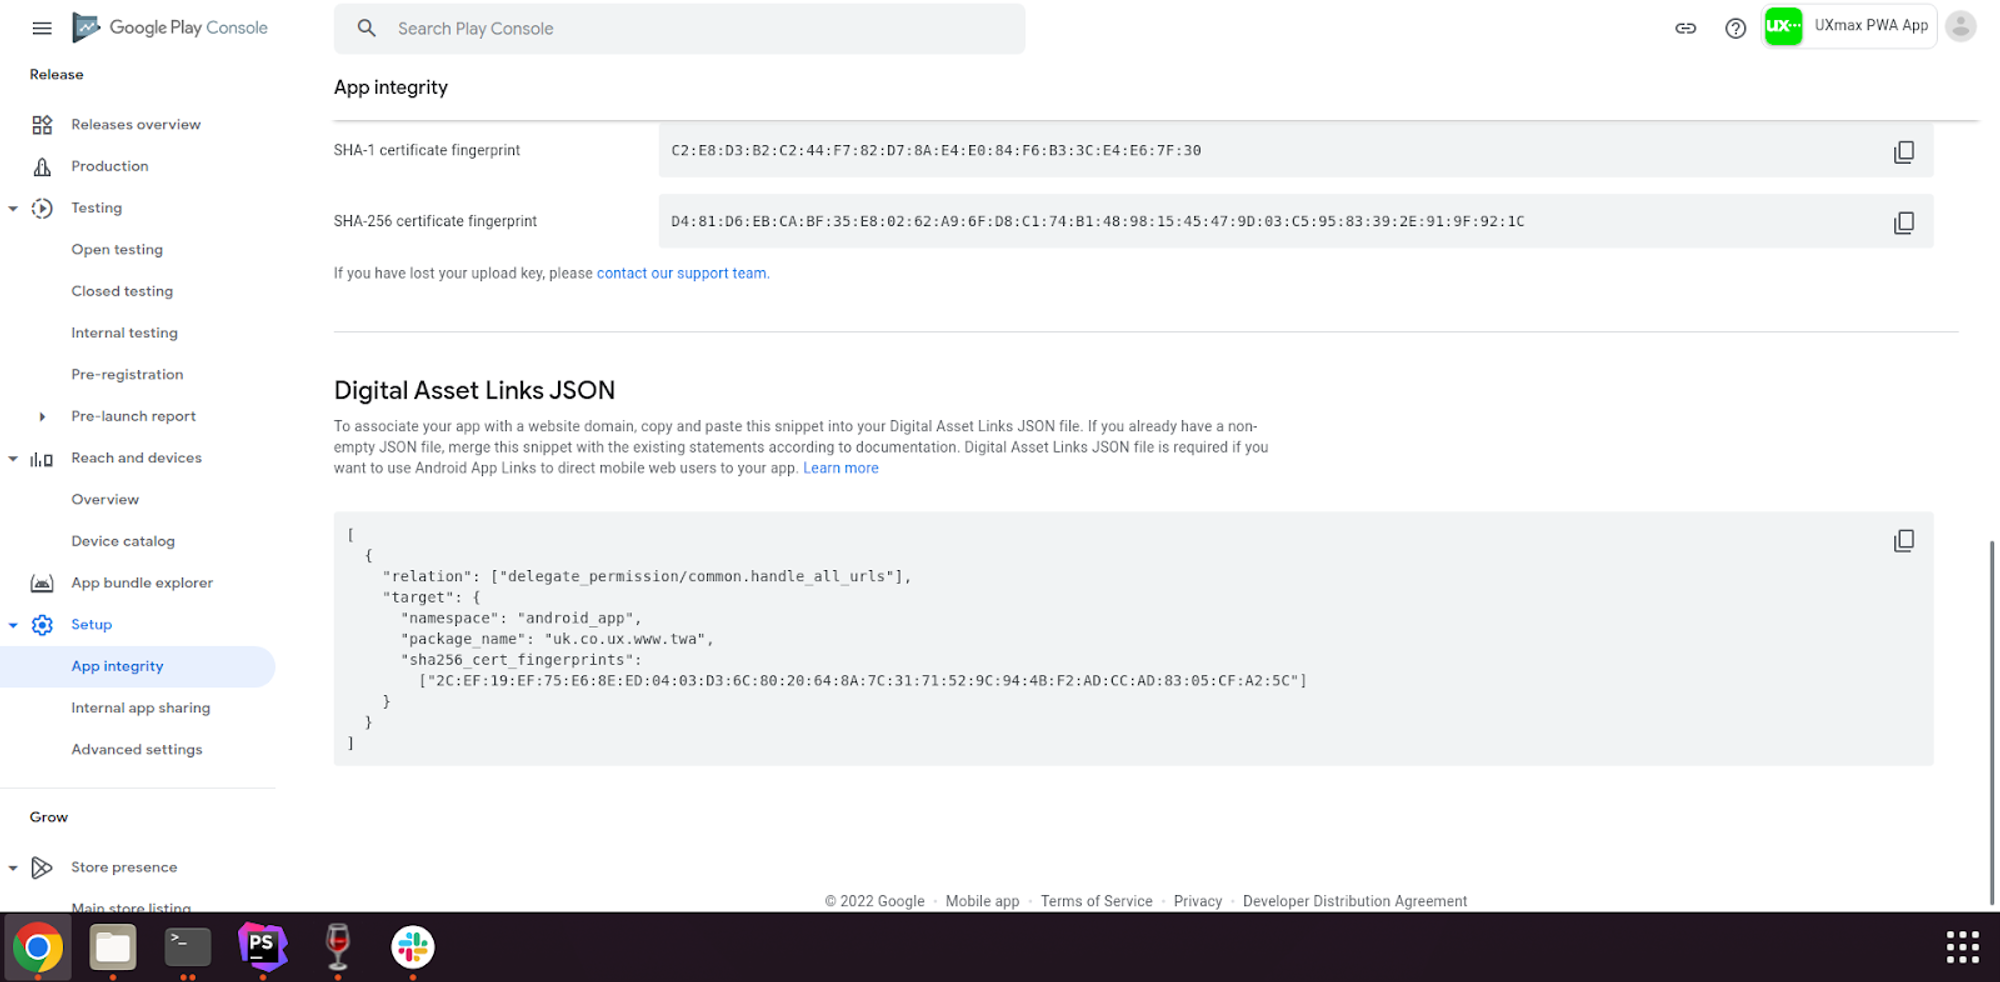
After release your app, you can find this by accessing your Google Play Console account, and navigating to your app. Go to Setup > App integrity > App Signing tab:
- Step 2: Create the assetlinks.json file in PWA source and make it to accessible
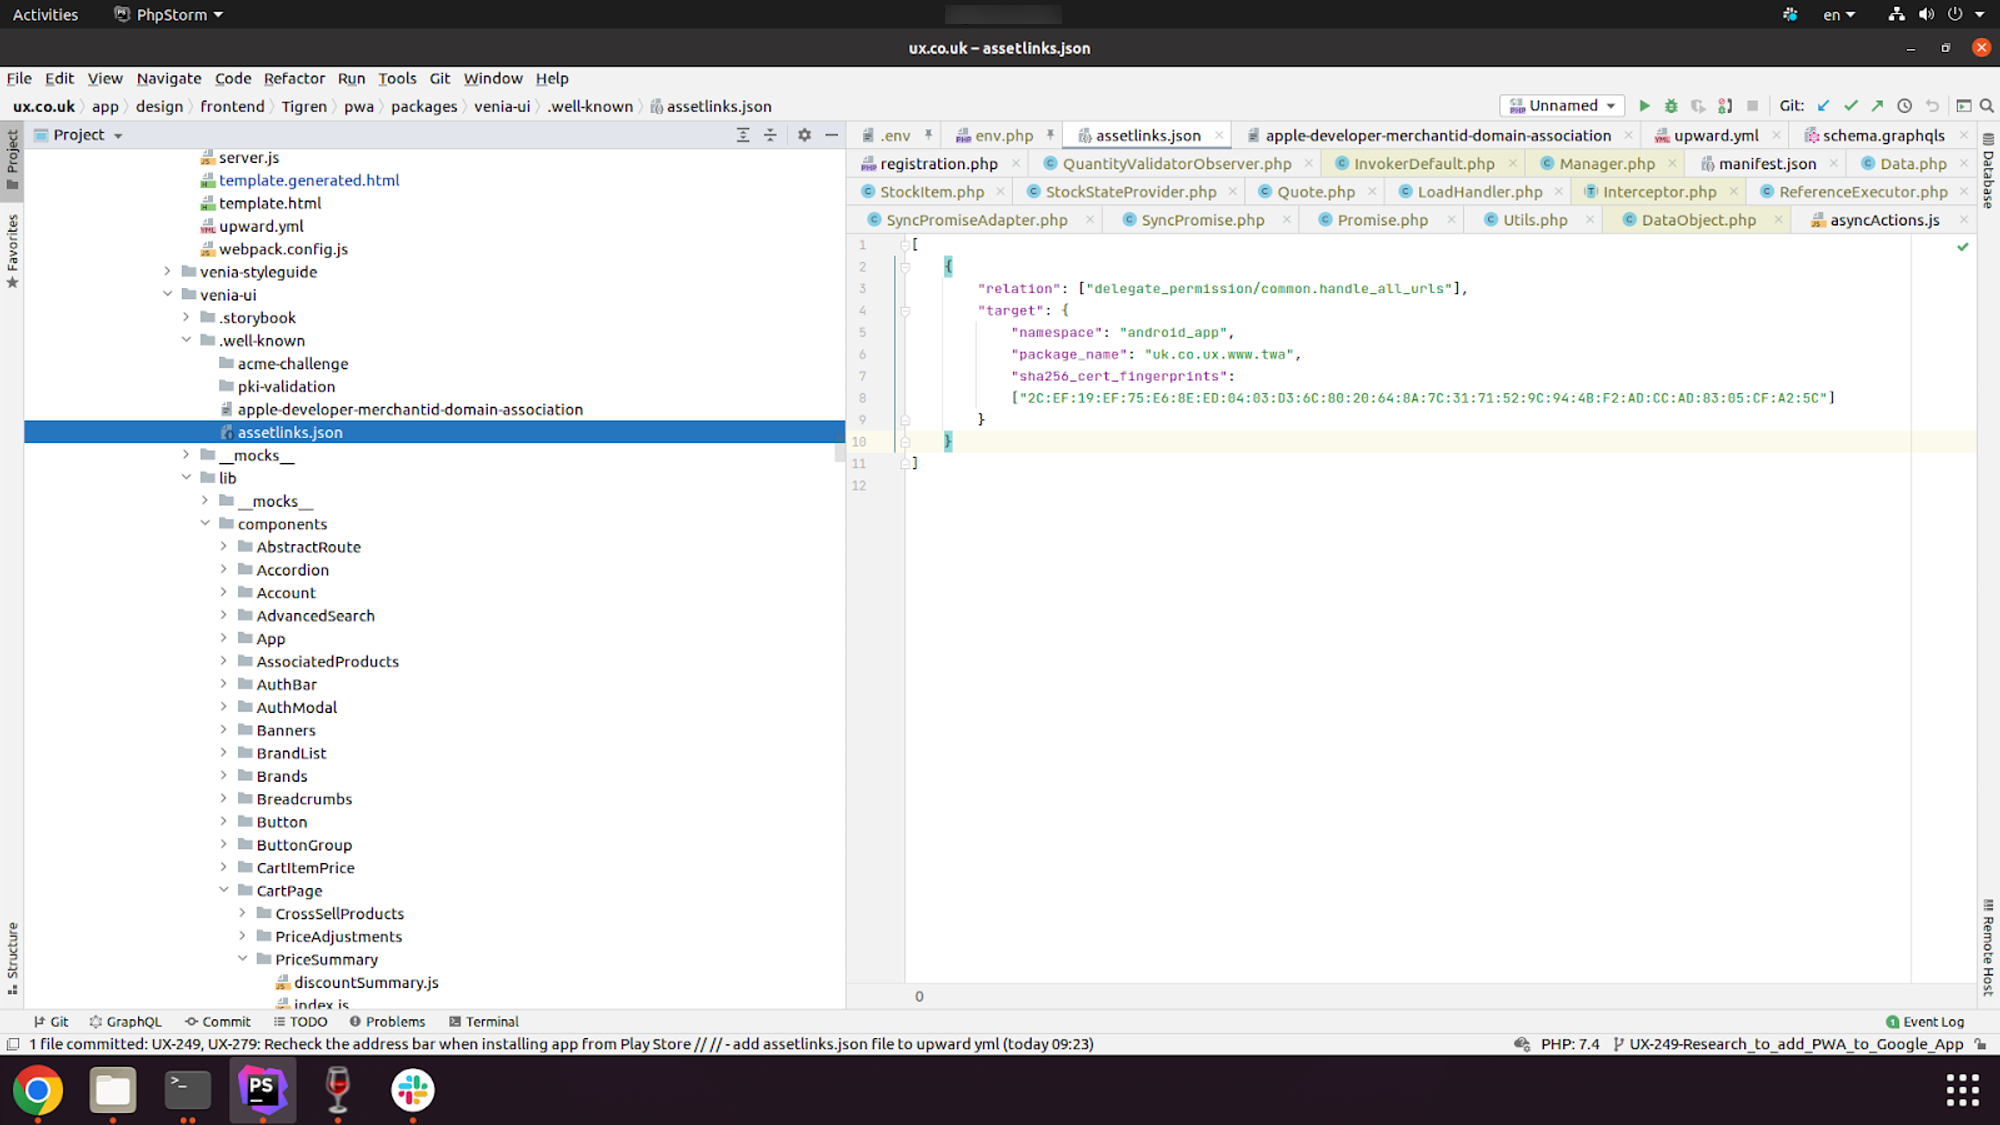
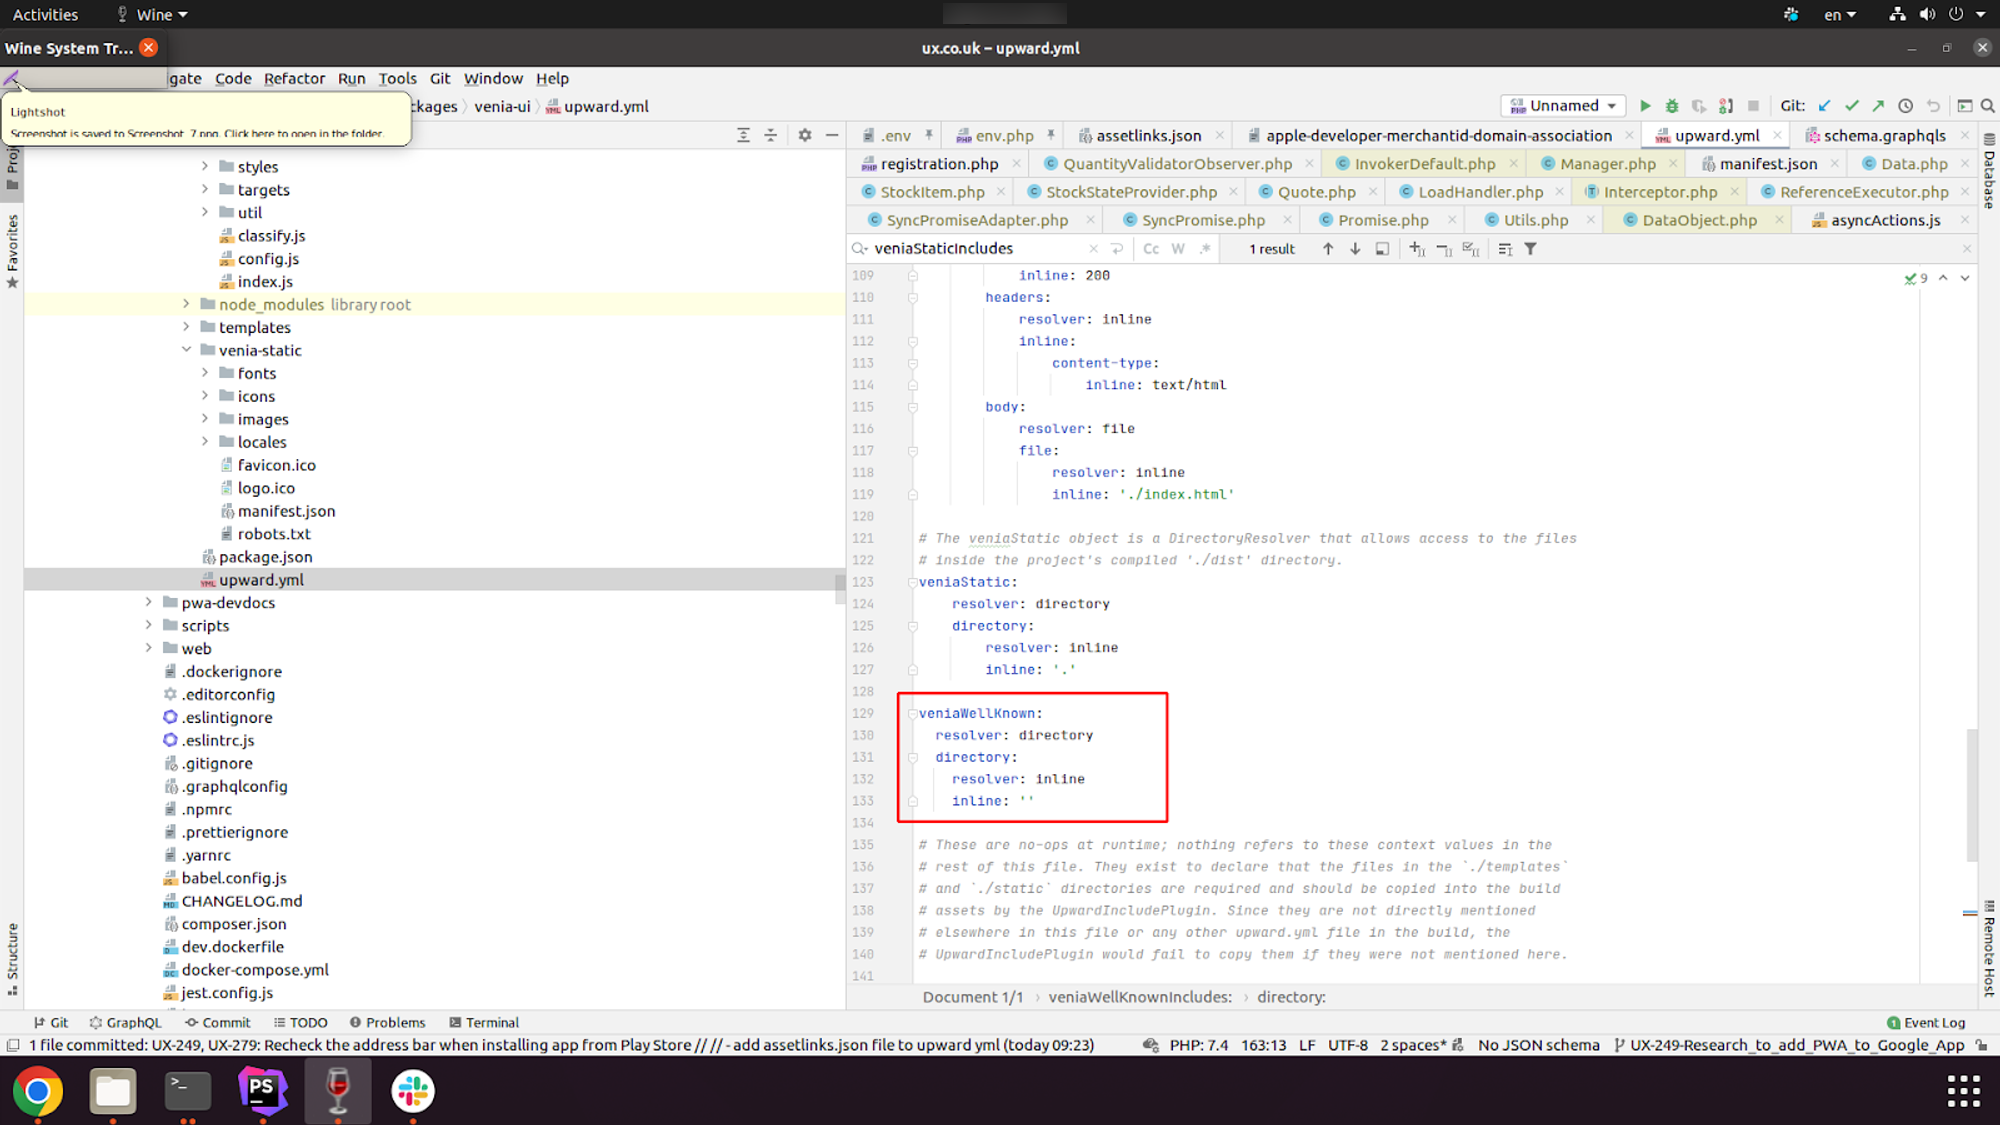
- Create the assetlinks.json file in app/design/frontend/Tigren/pwa/packages/venia-ui/.well-known/assetlinks.json, and then copy the value you’ve got to the following file:
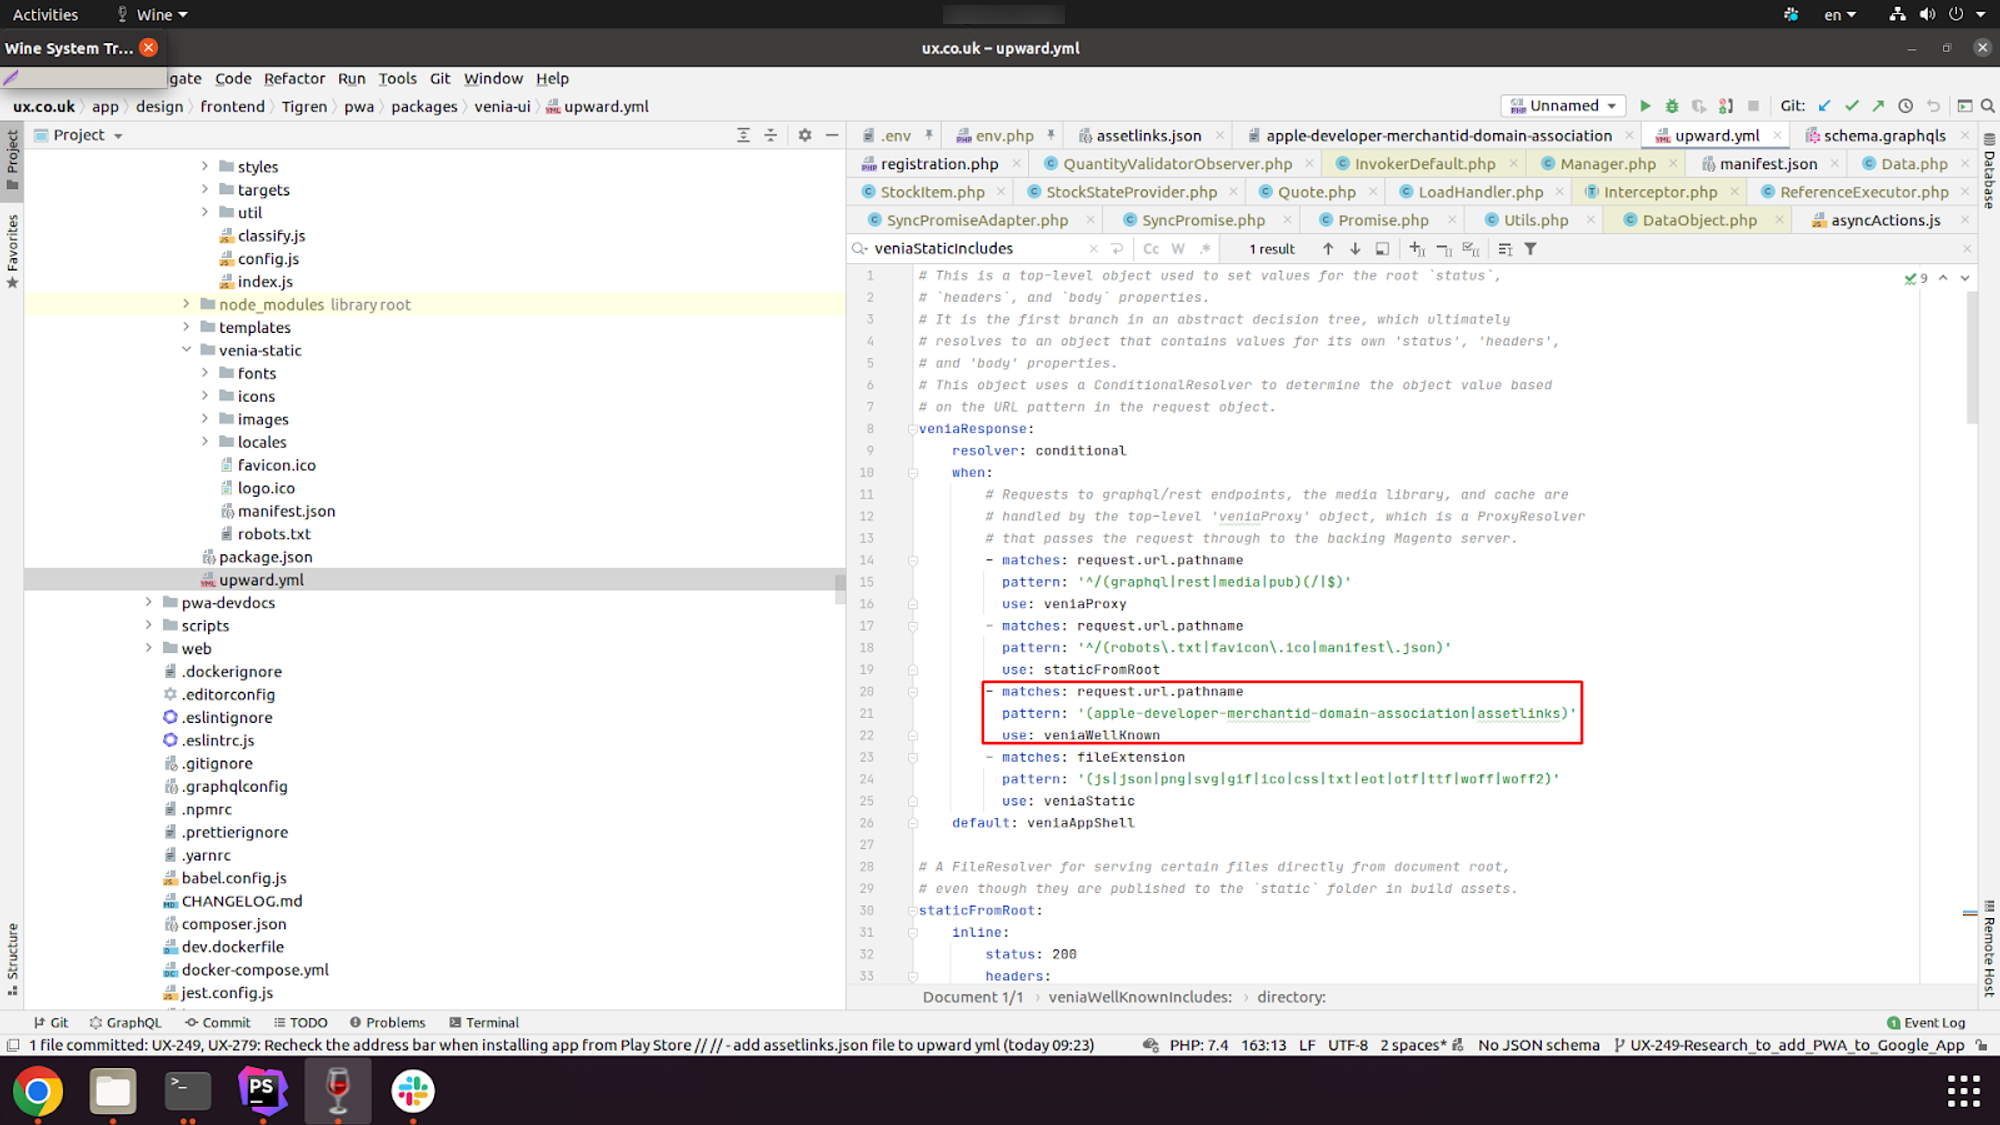
- Define it in upward.yml file at app/design/frontend/Tigren/pwa/packages/venia-ui/upward.yml
III. Publish Your App On Google Play#
To publish your app on Google Play, first and foremost, you must have a Google Play Developer account or have your email address added to an existing developer account. If you don’t already have it, sign up here.
You should also double-check your developer account information. Then, set up your Google Payment Merchant account and link it to your Google Play account if you're using Google Play Billing.
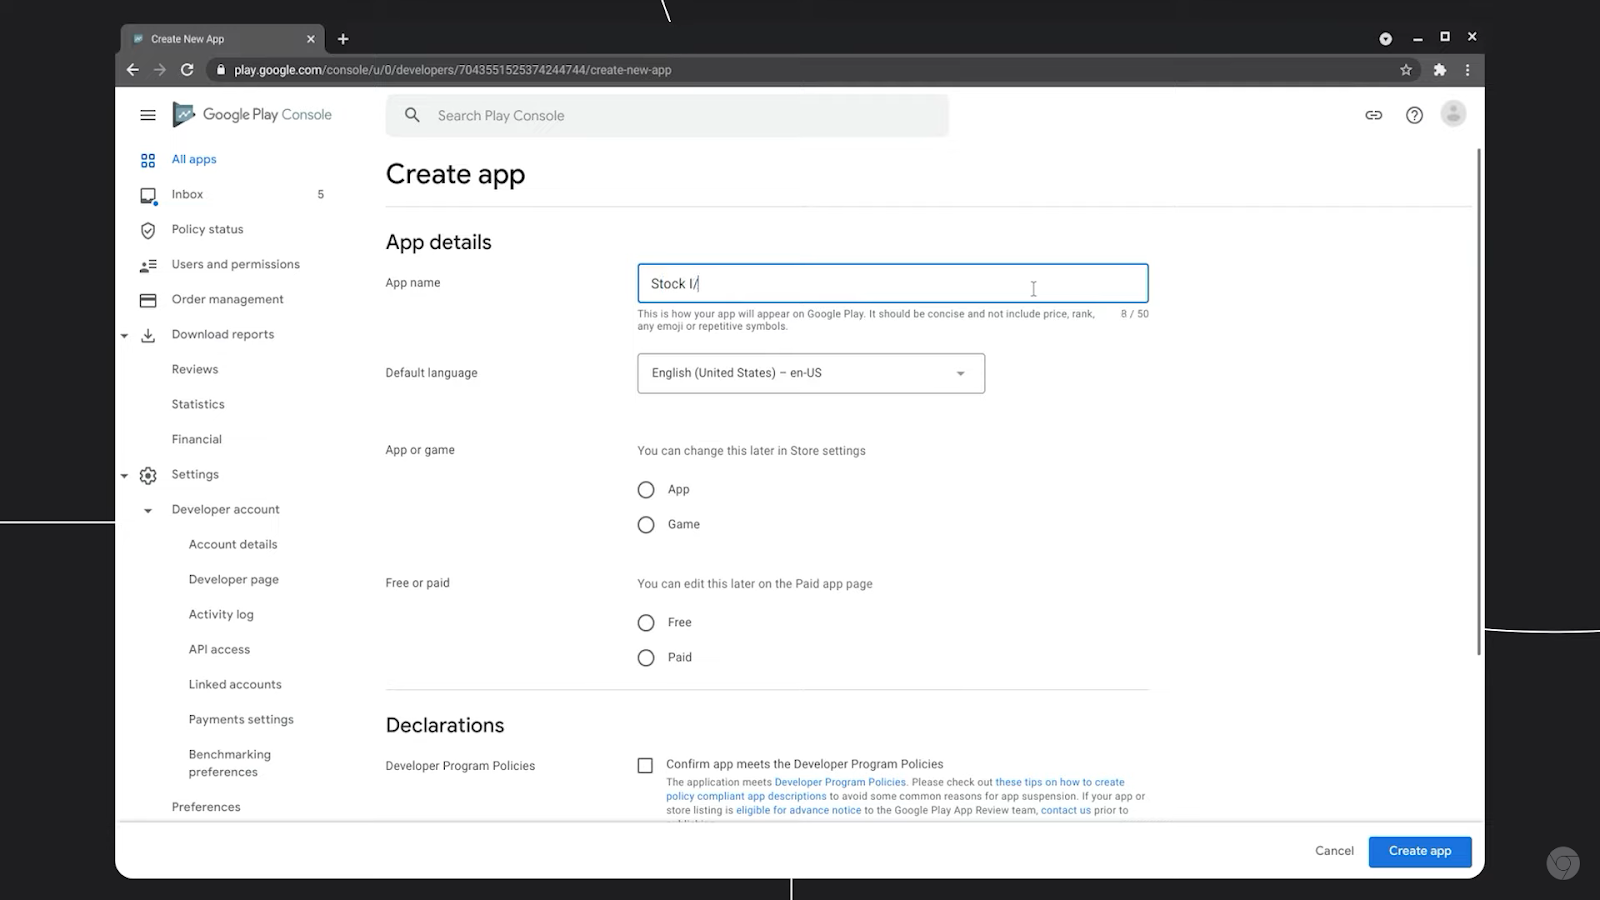
- Create a new app
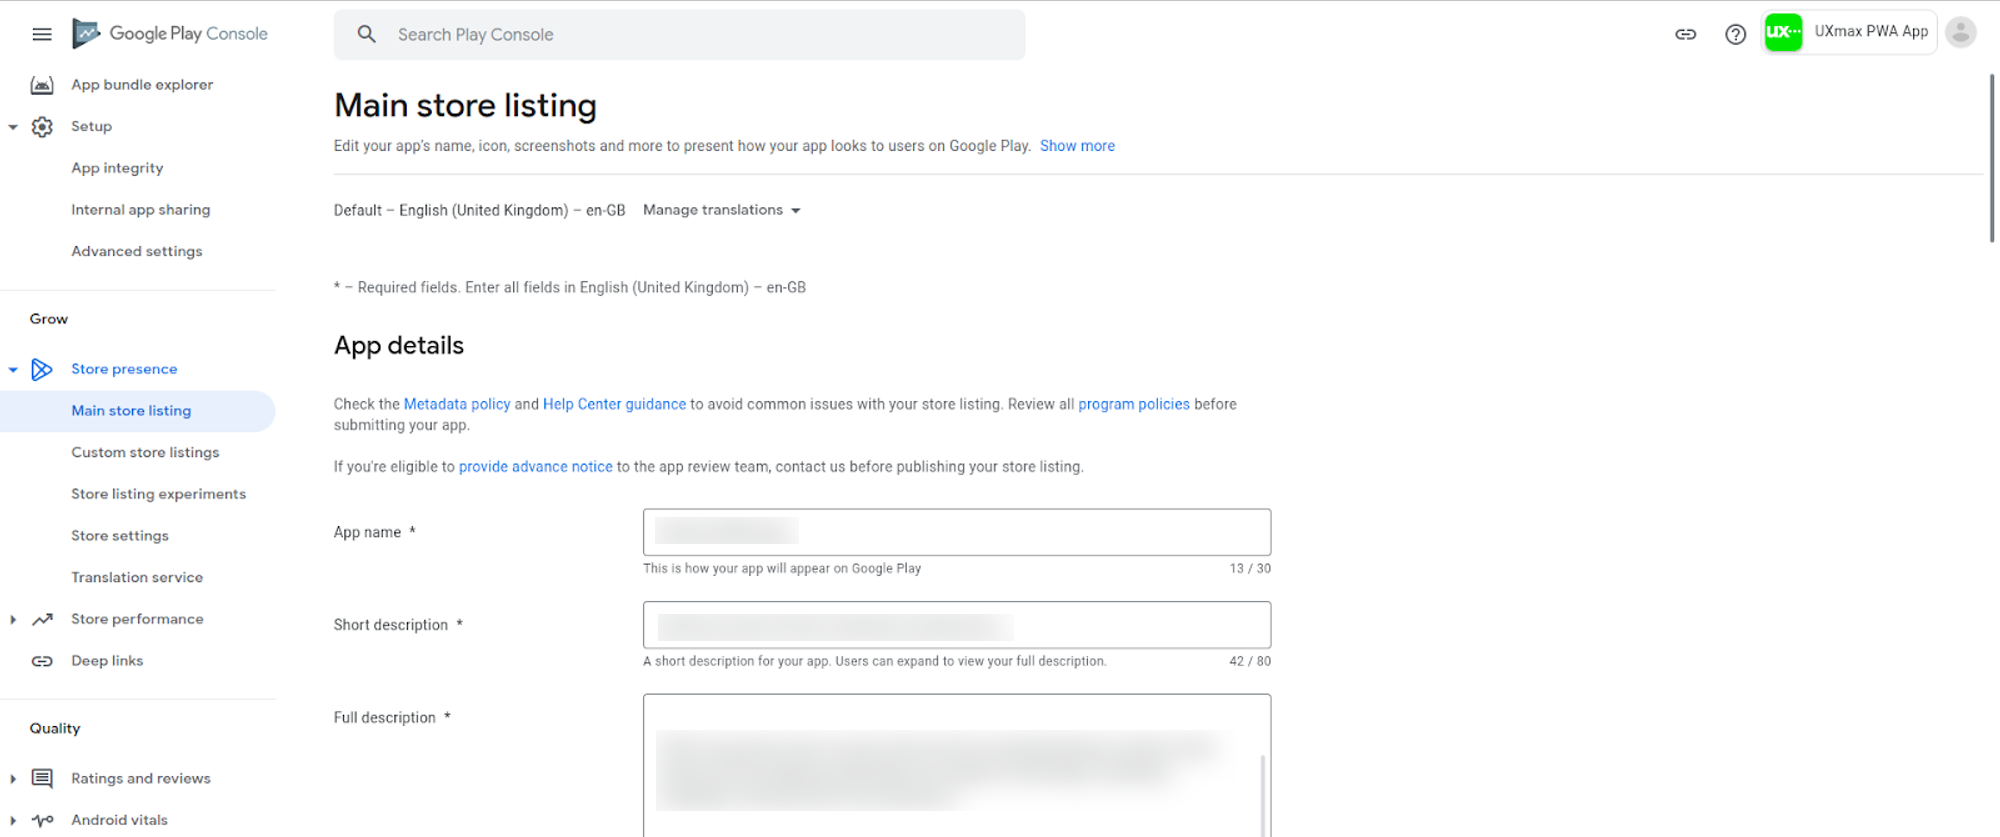
- Click Create new app on the right corner and fill in some information about your app. After that, go to Grow > Main Store Listing on the left sidebar to provide detailed information about your app.
- Access Dashboard on the left sidebar:
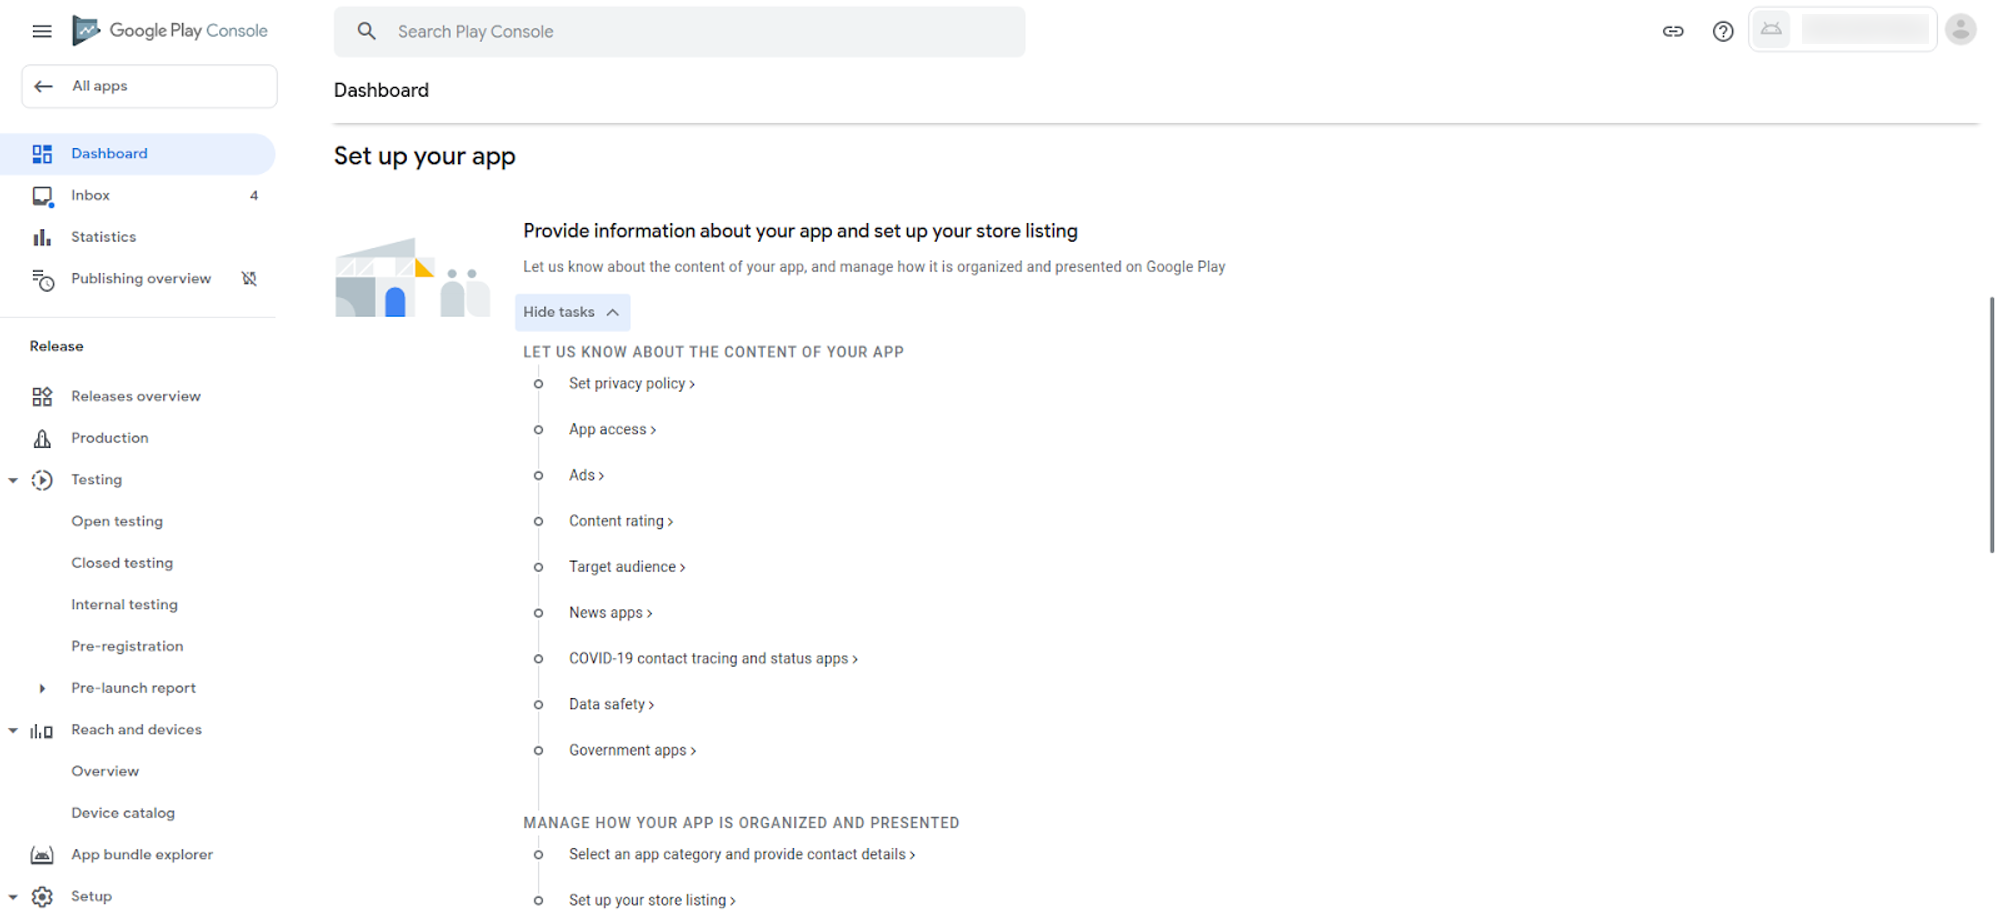
- After that, the above section will disappear and you will be able to view specific tasks of Test your app with a larger group of testers that you control on the dashboard.
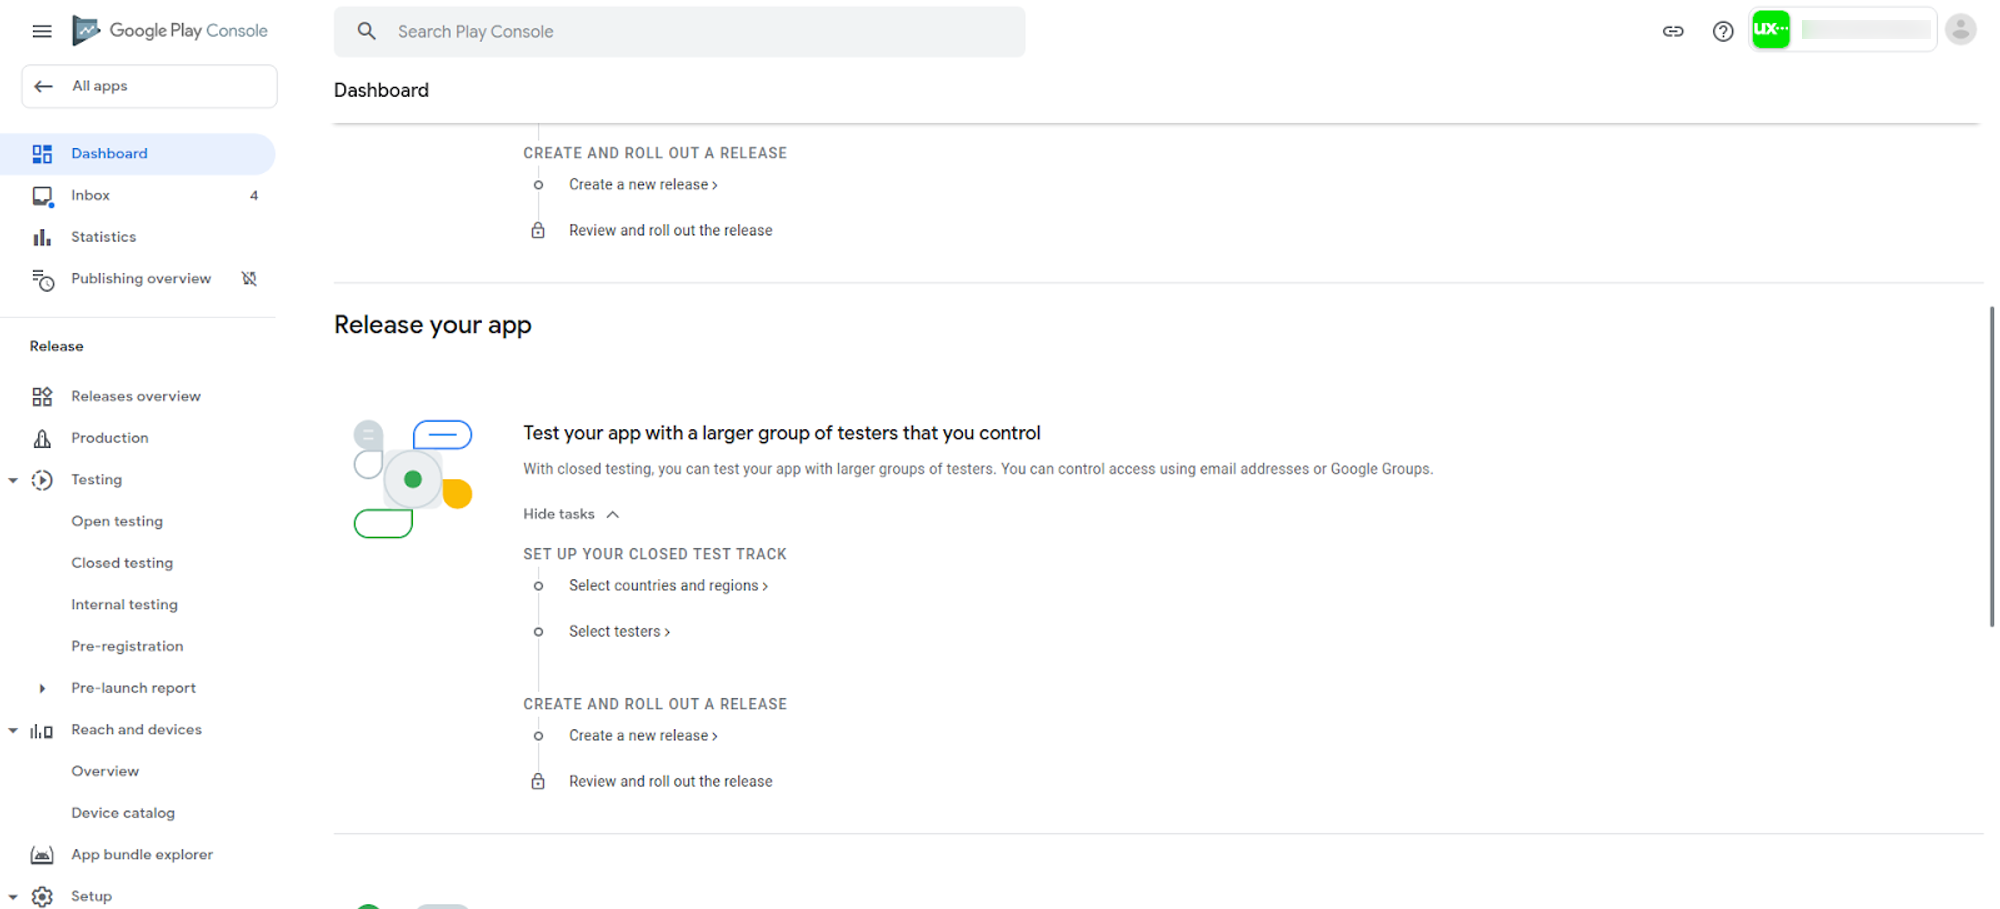
- Release testing
Internal Testing: To quickly distribute your app to up to 100 testers for initial quality assurance checks, create an internal testing release. Before releasing your app to the closed or open tracks, we recommend performing an internal test. You can run internal tests alongside closed and open tests for different versions of your app if necessary.
Closed testing: To gather more targeted feedback, create a closed testing release to test pre-release versions of your app with a larger group of testers. After testing with a small group of colleagues or trusted users, you can move on to an open release. As your first closed test, a Closed testing track will be available on your Closed testing page. You can also create and name additional closed tracks if needed.
Open testing: To test your app with a broad number of people and make the test version of your app visible on Google Play, create an open testing release. Anyone can participate in your testing program and send you personal feedback if you conduct an open test. Make sure your app and store listing are prepared to be seen on Google Play before selecting this option.
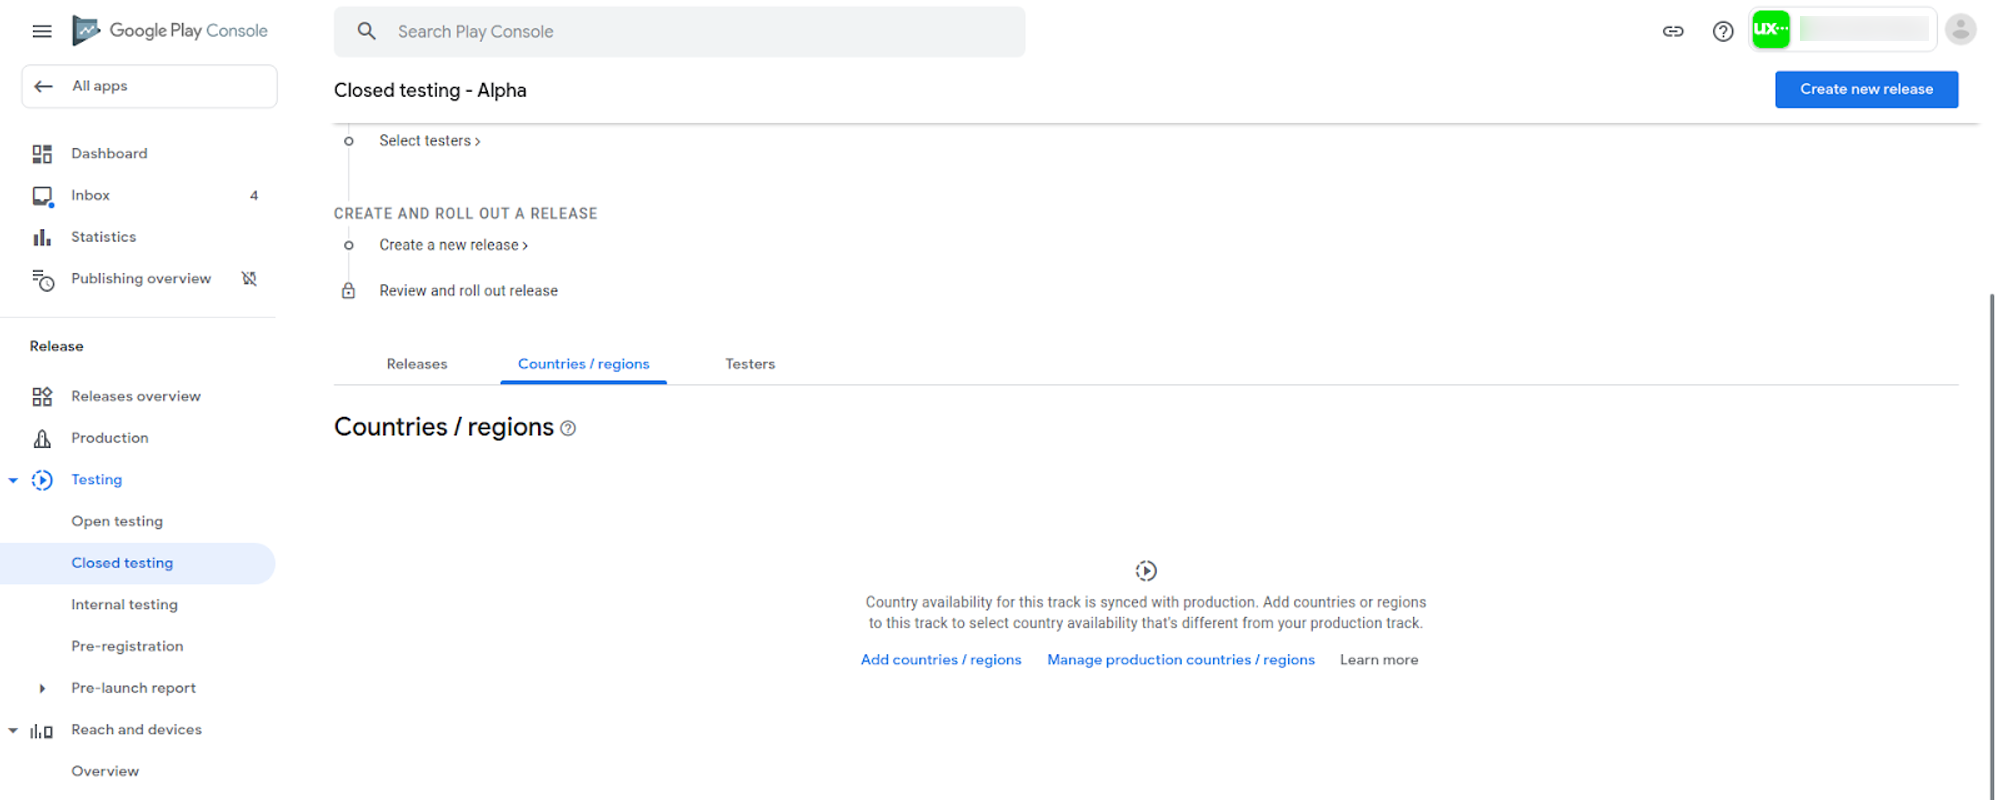
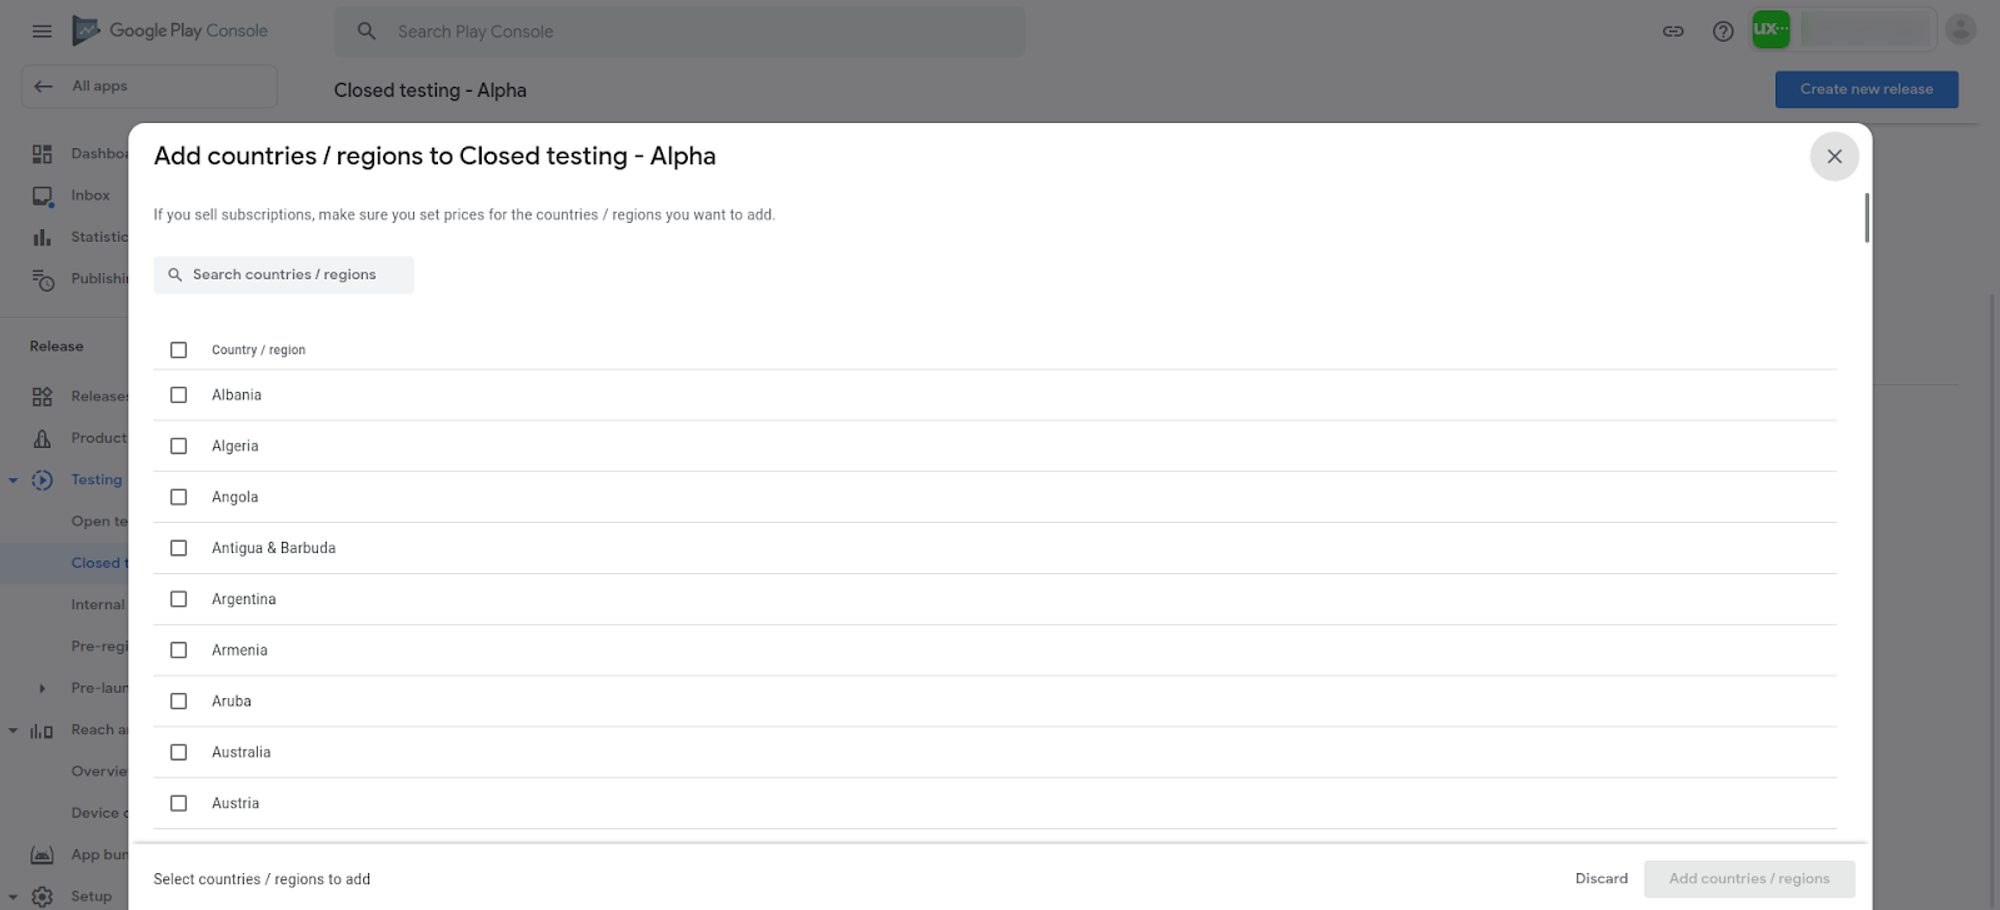
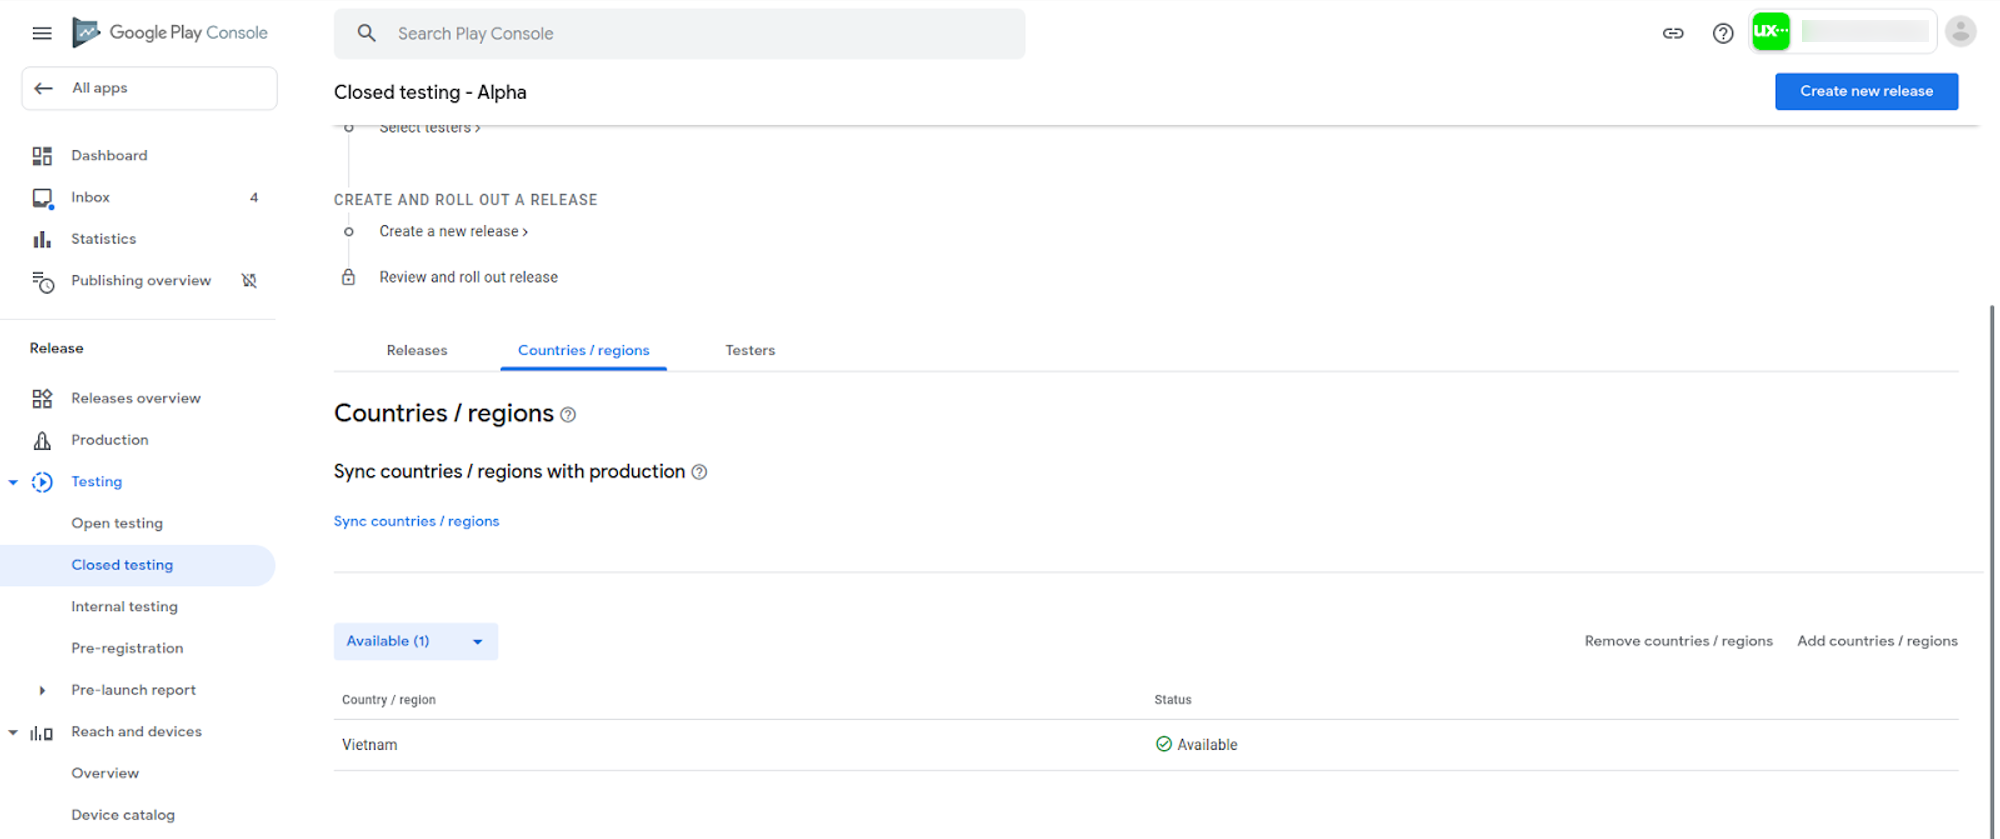
- Step 1: Select countries/ regions
You can choose countries/ regions here, and your app will be made available in the country/region you’ve selected.
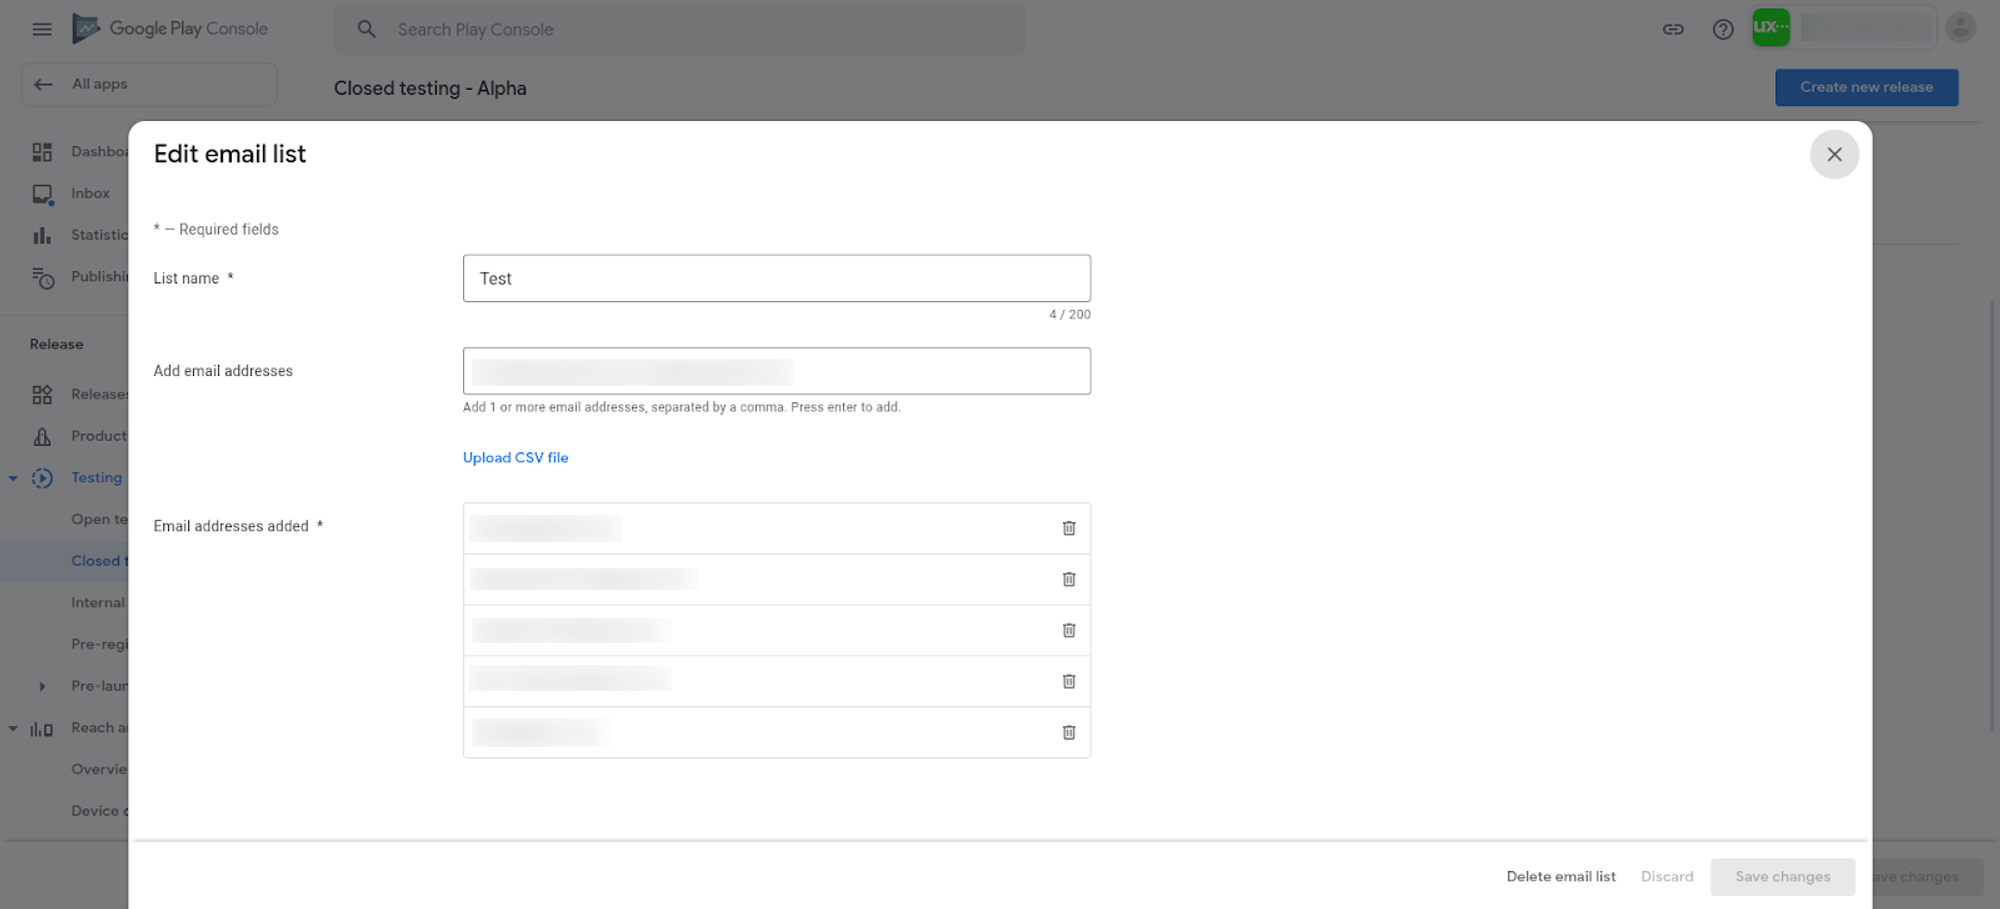
- Step 2: Create an email list of testers
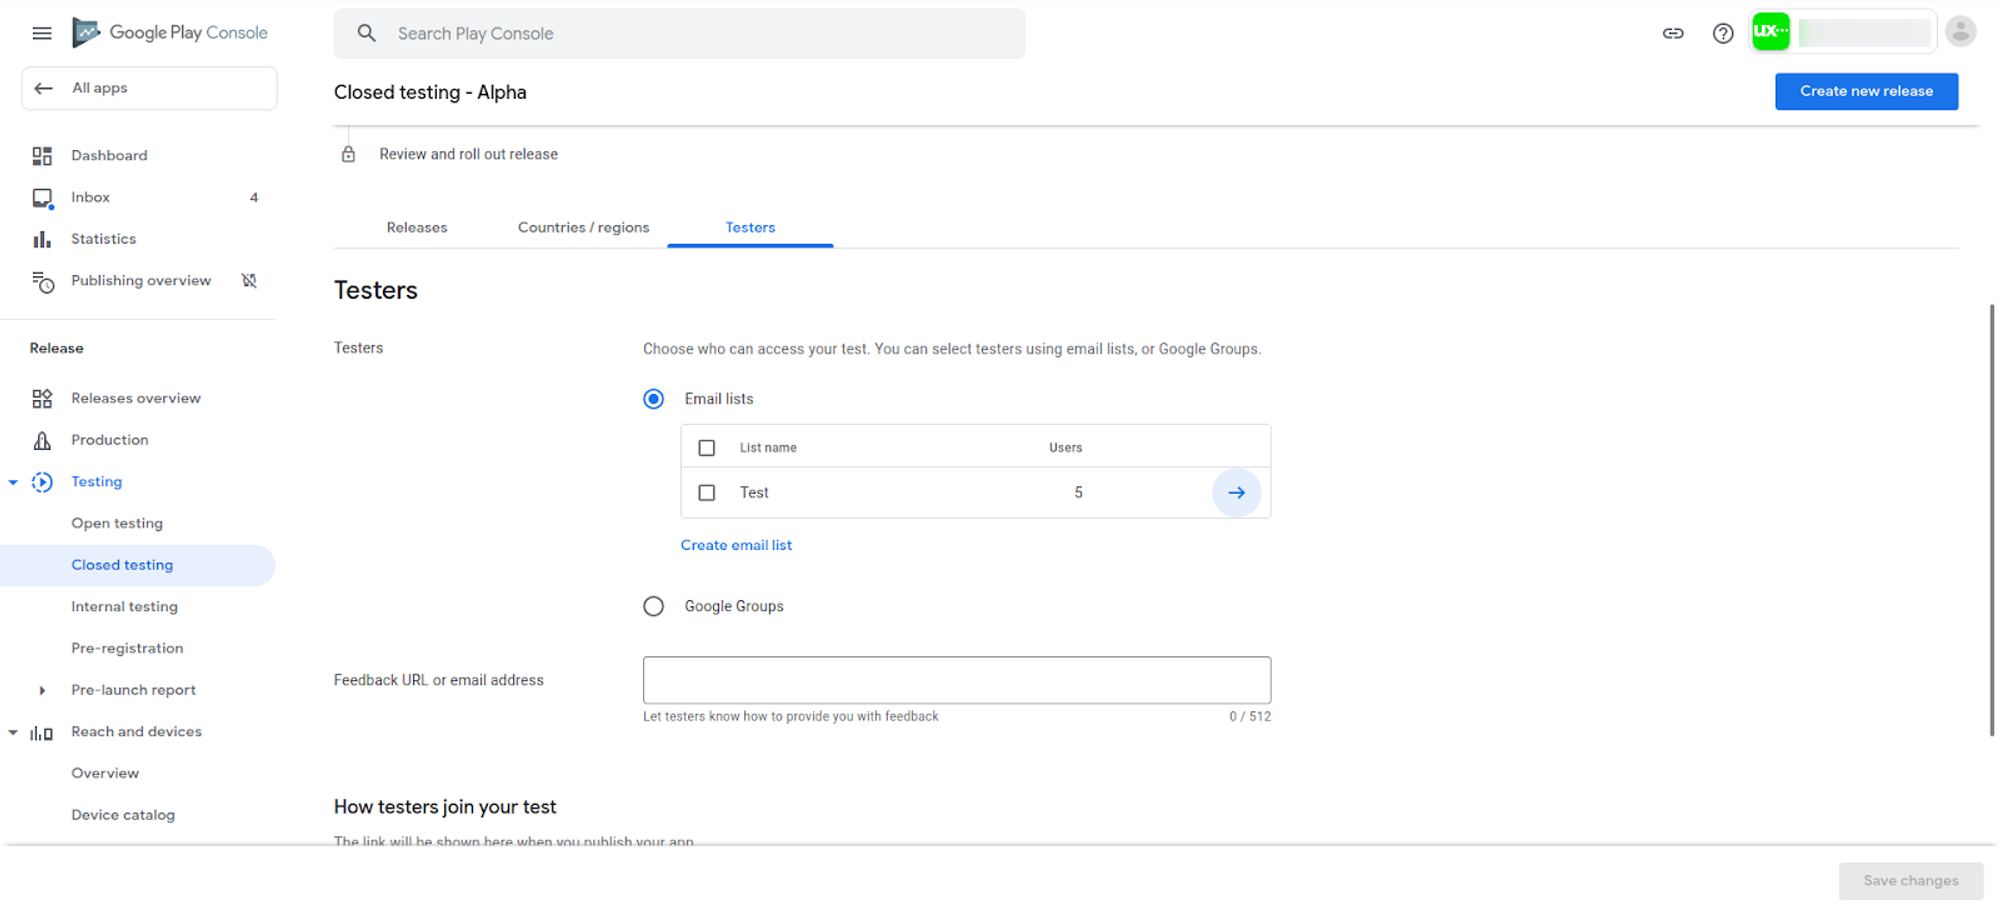
To ensure the app performs as expected, we advise releasing it to a testing track with a list of reliable testers first.
You can obtain a test link in this phase but you must first wait for Google to assess your application, which will take 3 to 7 days.
- Step 3: Create new release
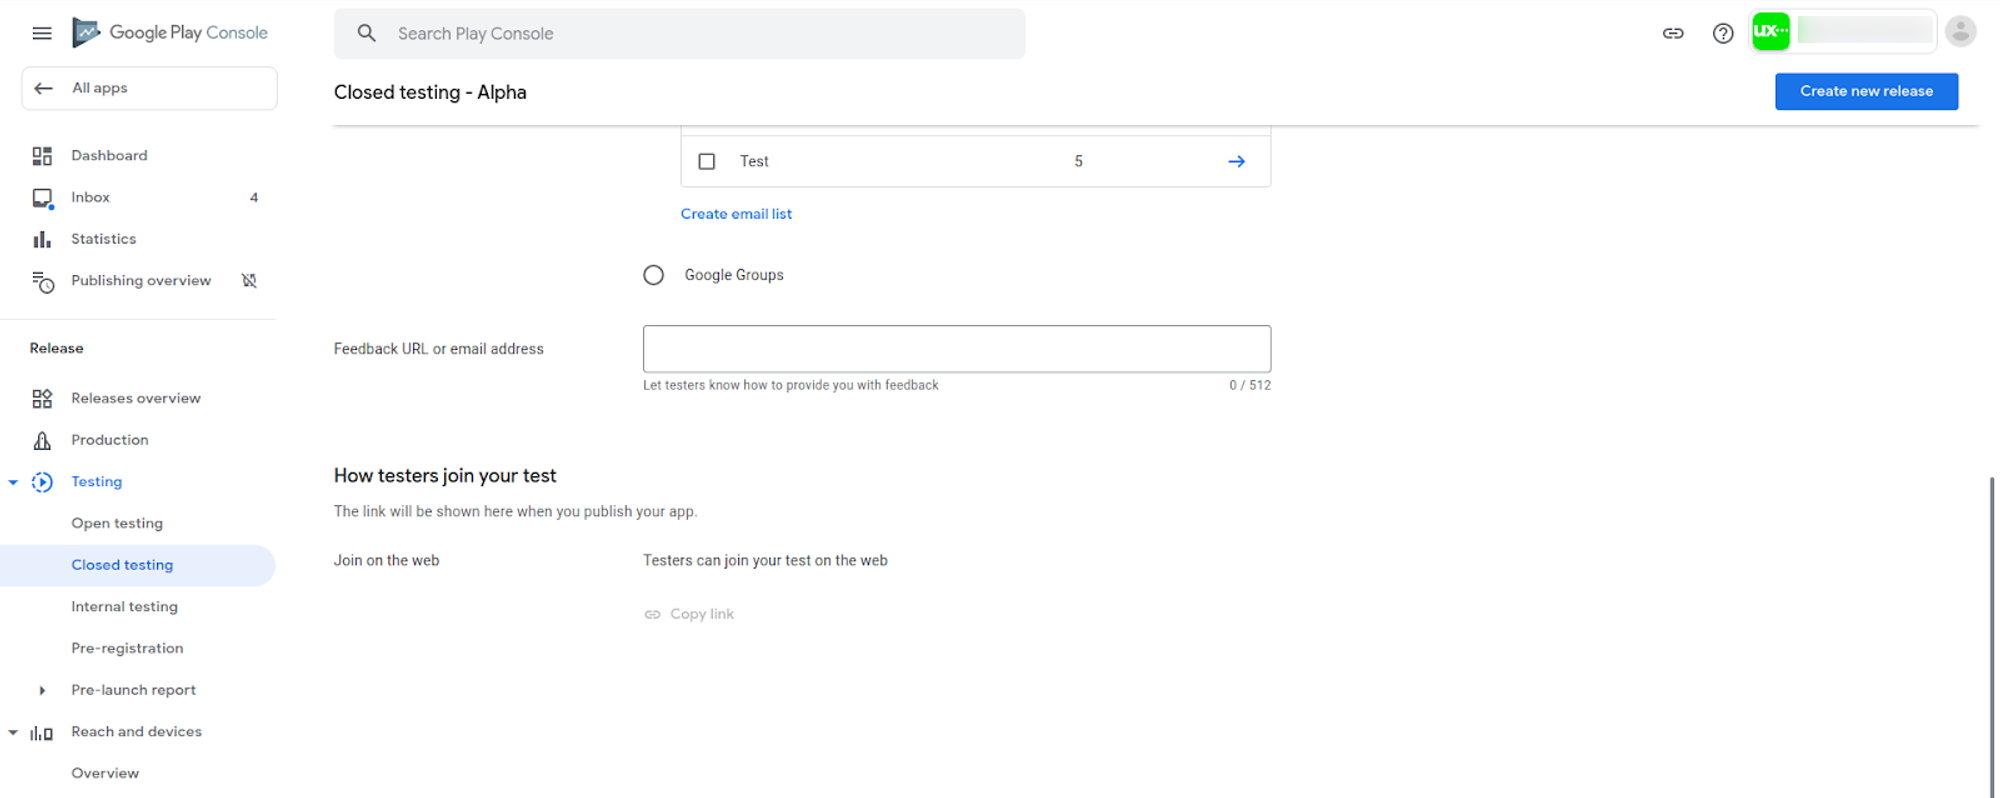
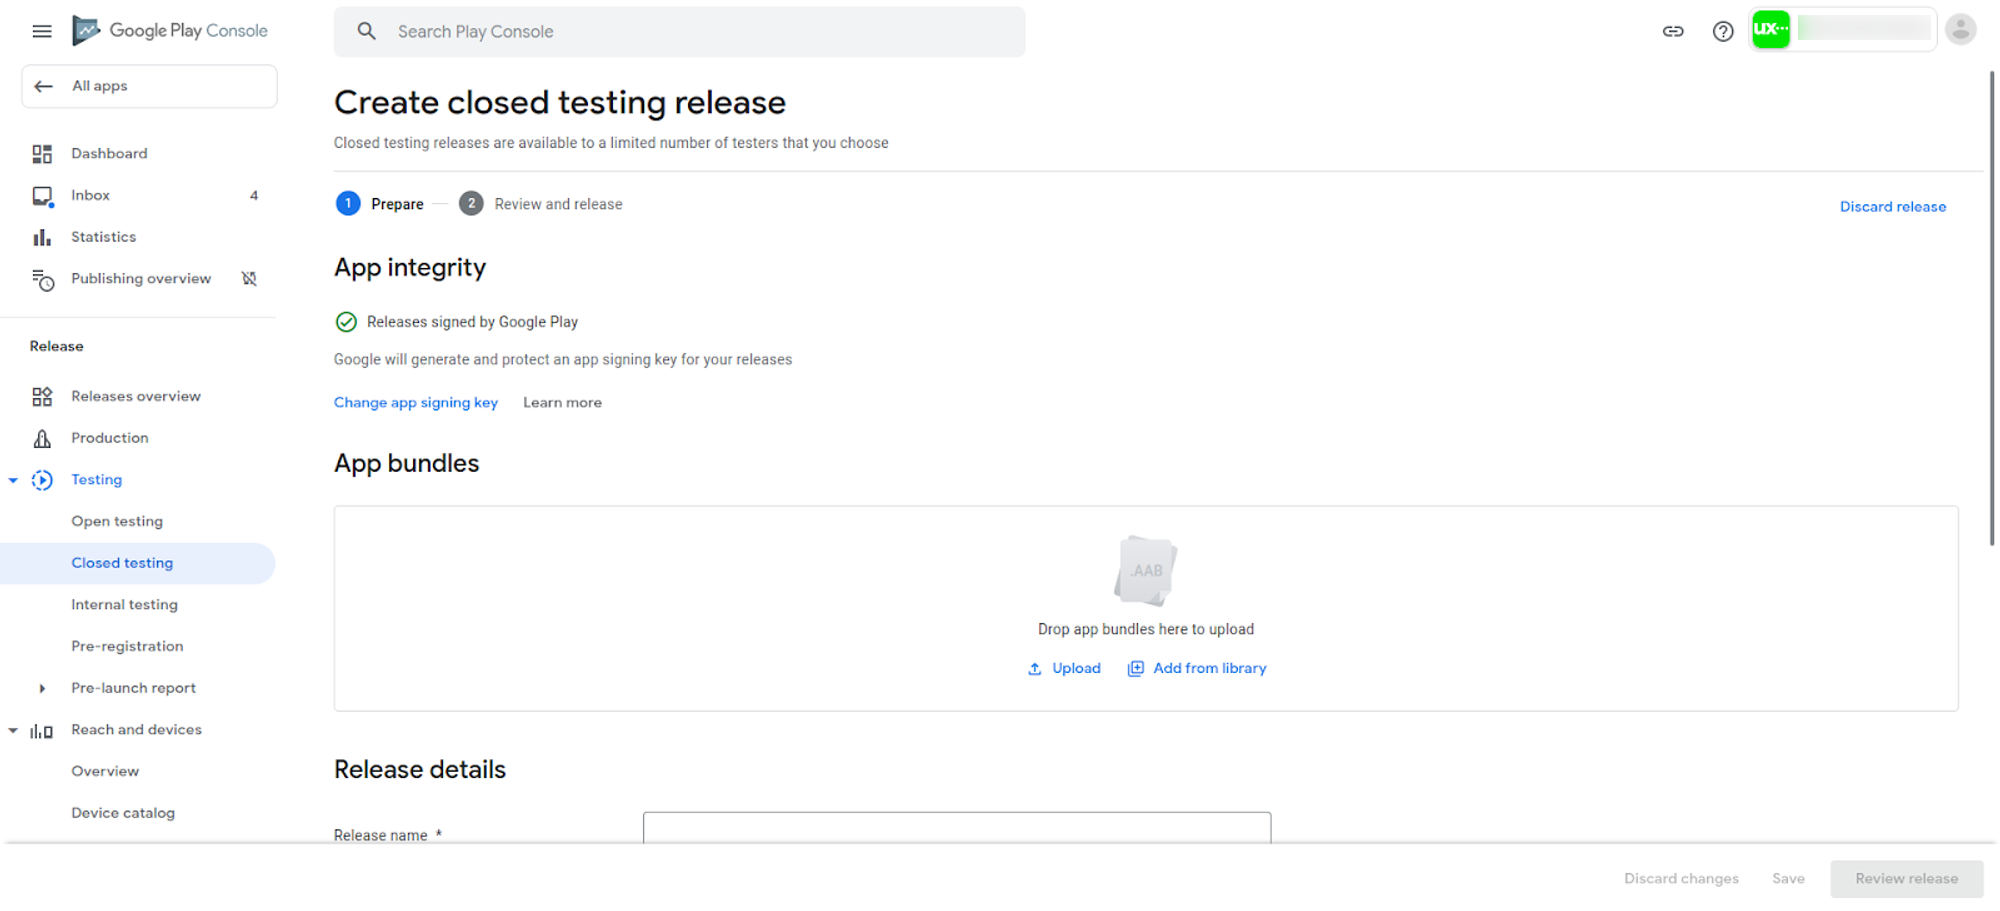
To generate a test release, click the Create new release button in the top right corner. You will be taken to another page where you can upload your test version and any accompanying descriptions.
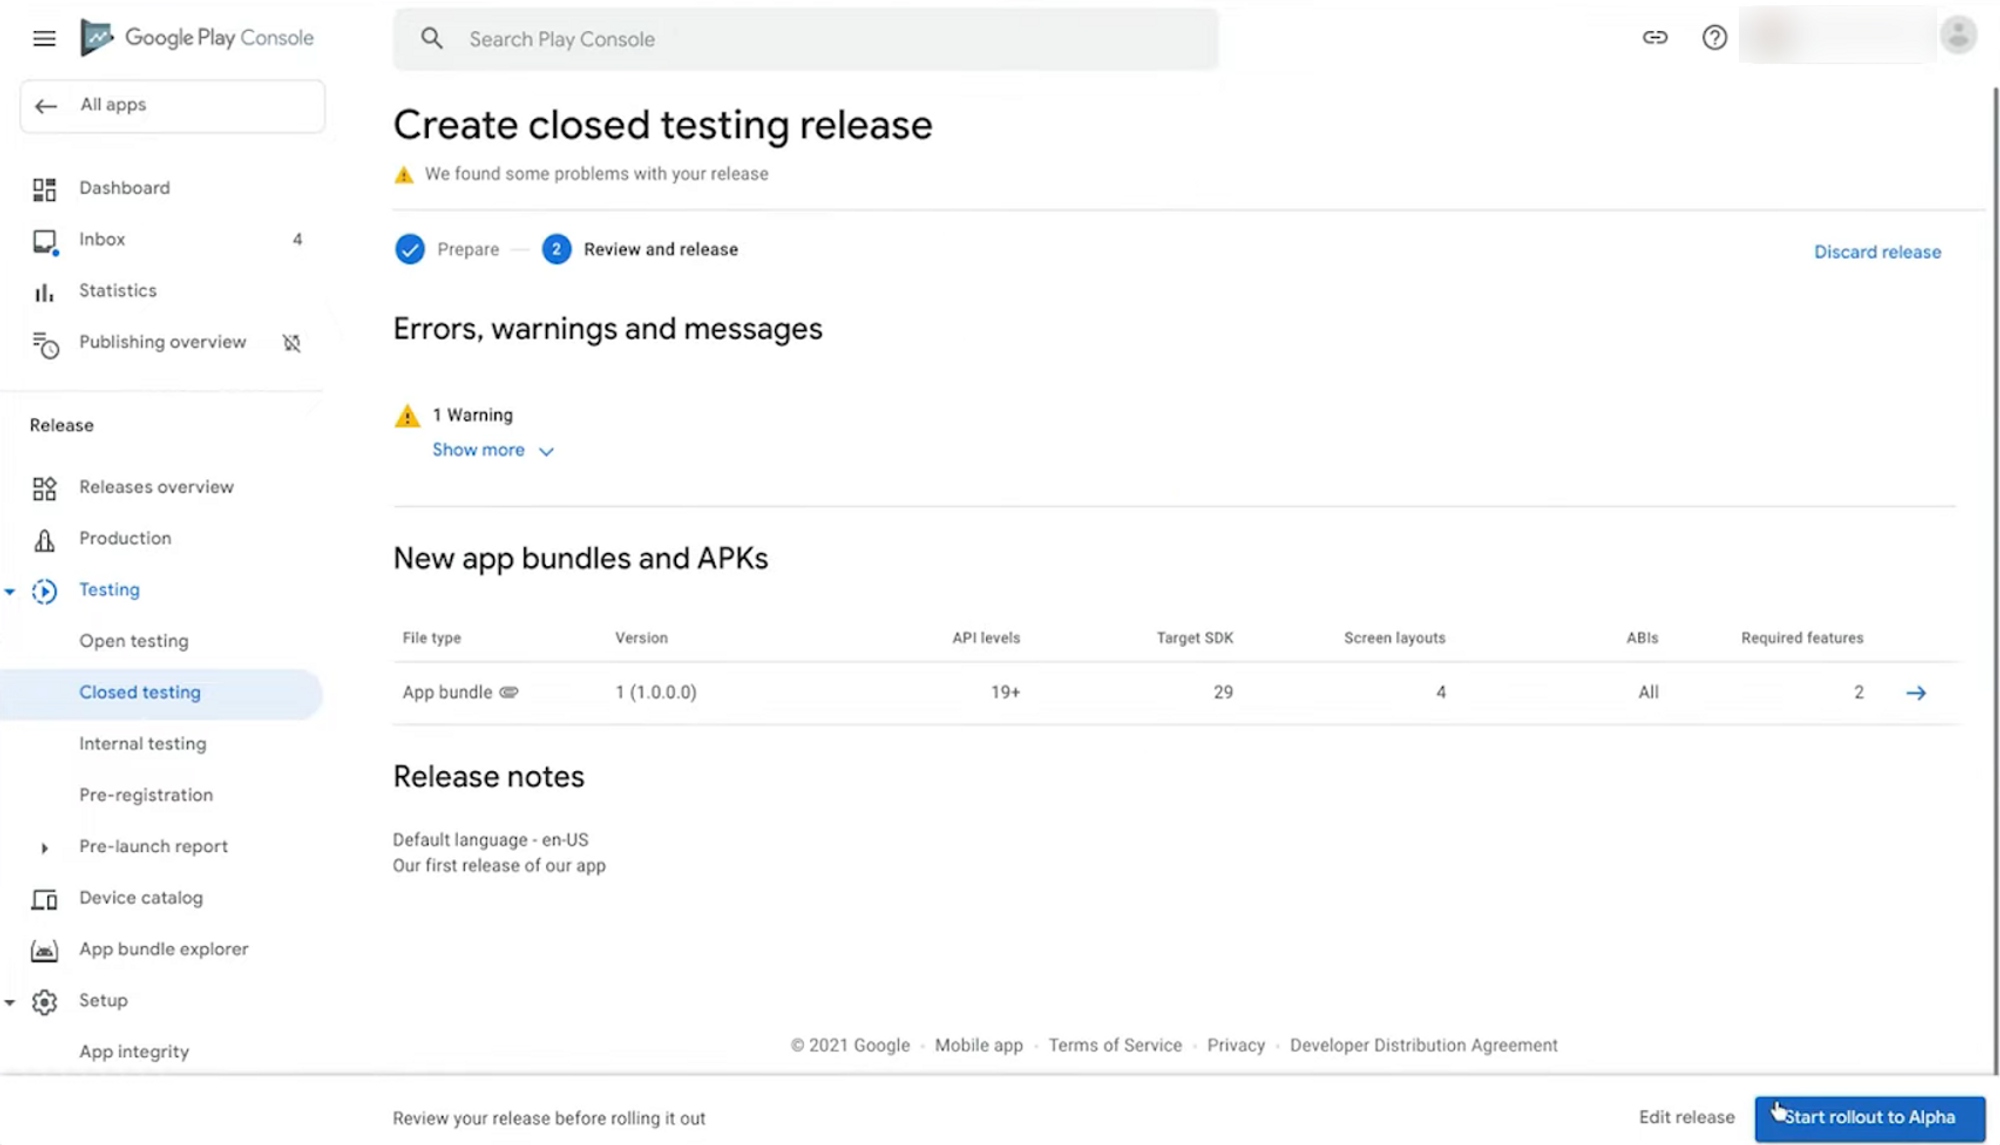
Once you've entered all the necessary information, you can click the Save and Review Release buttons in the bottom right corner. Then, a new page will open, allowing you to roll out the test version.
- Release production
The procedures of testing and production release are comparable.
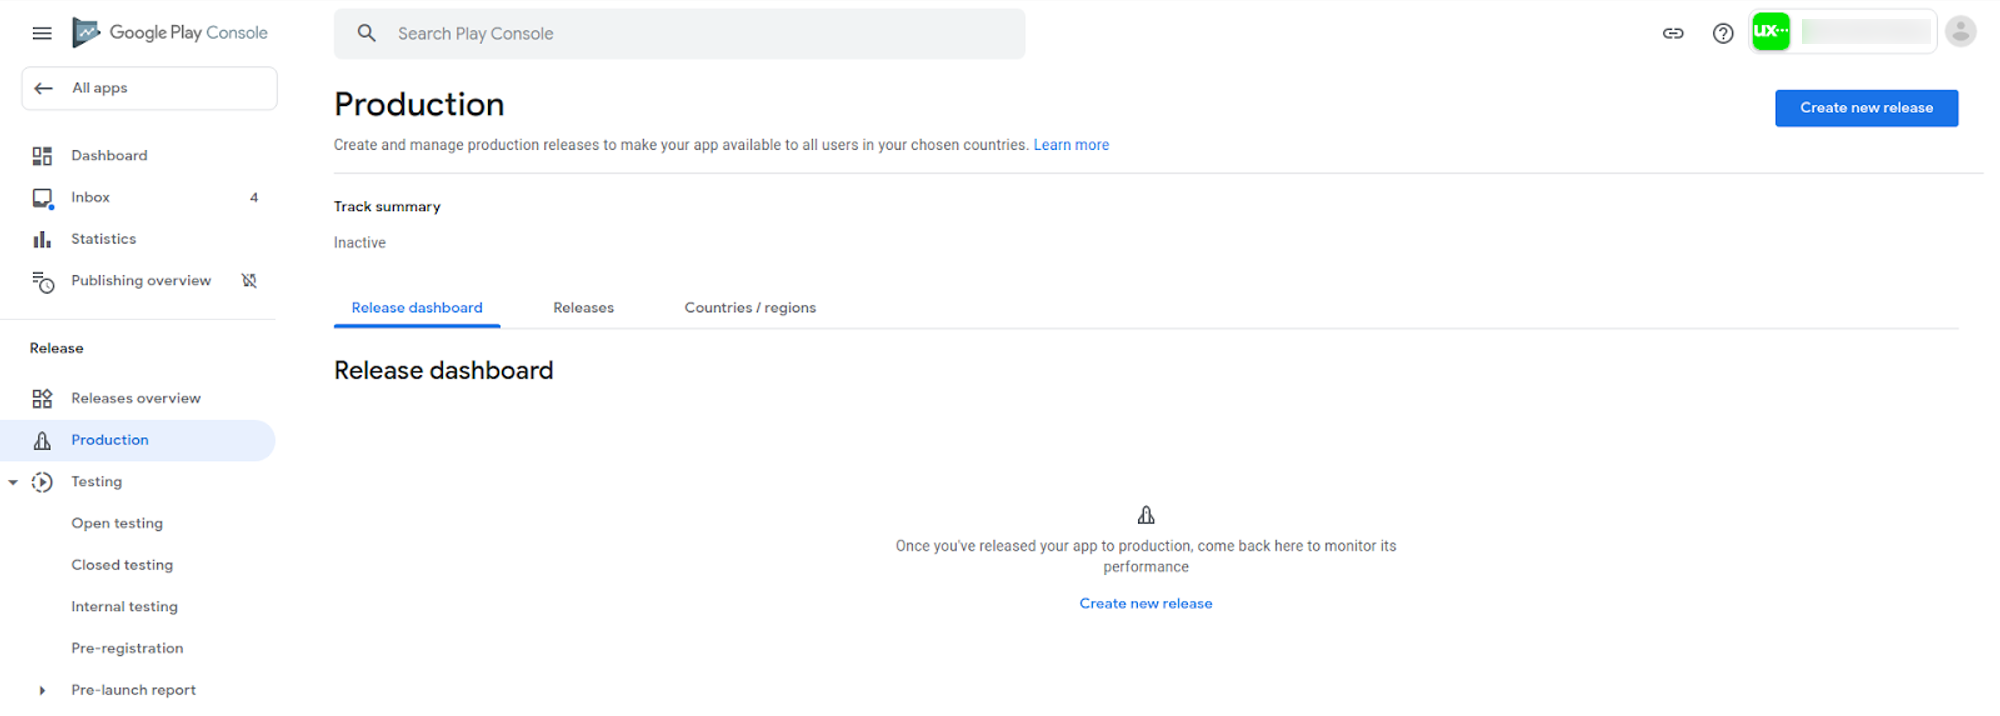
After completing all of the preceding steps, you can now publish your app on Google Play!